Welcome to the delightful world of homemade dinner rolls! If you’ve ever dreamed of serving soft, fluffy rolls that melt in your mouth, you’re in the right place. This guide will not only walk you through the recipe but also provide insights, tips, and variations to help you master this essential baking skill. Let’s get started and bring warmth and joy to your dining experience!
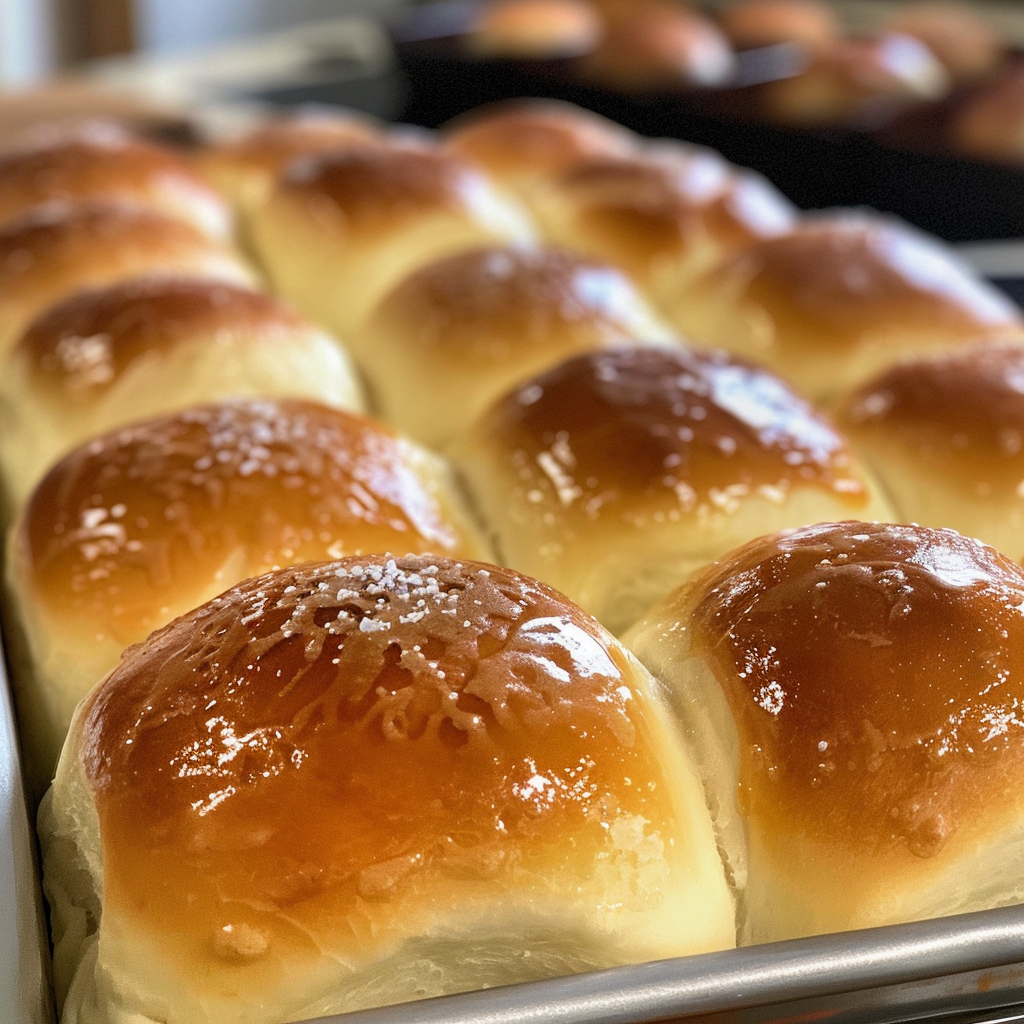
Why You’ll Love This Recipe
Homemade dinner rolls are a staple at any meal, and here are just a few reasons why this recipe will become your go-to:
- Unmatched freshness: There’s nothing quite like the aroma of freshly baked rolls wafting through your kitchen.
- Customizable flavors: Add herbs, spices, or even cheese to personalize your rolls.
- Perfect for any meal: These rolls pair beautifully with soups, salads, and main dishes.
- Great for gathering: Homemade rolls are a great way to impress your guests and make any meal feel special.
- Easy to make: This recipe is beginner-friendly, requiring only a few simple steps!
Ingredients Breakdown
Before you dive into baking, let’s take a closer look at the ingredients:
- 3 ½ cups all-purpose flour: The foundation of the rolls; providing structure and texture. For a healthier option, consider whole wheat flour.
- 1 packet (2 ¼ tsp active dry yeast: This is the magic ingredient that makes your rolls rise and become fluffy.
- ¼ cup granulated sugar: Adds sweetness and helps activate the yeast.
- 1 cup milk: Provides moisture and richness. You can use almond or oat milk for a dairy-free version.
- ¼ cup unsalted butter (softened): Contributes to the softness and flavor of the rolls.
- 1 large egg: Binds the ingredients together and adds richness.
- 1 tsp salt: Enhances flavor and balances the sweetness.
Step-by-Step Instructions
Now, let’s get into the baking process:
- Activate the Yeast: Warm the milk until it’s lukewarm (about 100-110°F). Add the yeast and sugar to the milk and stir to dissolve. Let it sit for 5-10 minutes until foamy. This step is essential to ensure your yeast is active. If it doesn’t foam, the yeast may be expired, and it’s best to start with a fresh batch for optimal rising.
- Prepare the Dough: In a mixing bowl, combine flour, salt, softened butter, and the egg. Pour in the yeast mixture and stir until a dough forms. Knead for 8-10 minutes until smooth and elastic. Kneading is crucial for developing gluten, which gives the rolls structure. If the dough is too sticky, add a tablespoon of flour at a time until it reaches a workable consistency.
- First Rise: Transfer the dough to a greased bowl, cover it with a damp cloth, and let it rise in a warm place for about 1 hour, or until doubled in size. This first rise develops flavor and texture, so be patient and allow the dough time to expand fully.
- Shape the Rolls: Once the dough has risen, punch it down to release the gas and divide it into 12 equal portions. Shape each portion into a smooth ball by tucking the edges underneath. Place the balls in a greased baking dish, spaced about an inch apart, allowing room for them to rise again.
- Second Rise: Cover the baking dish with a cloth and let the rolls rise for another 30-45 minutes, or until doubled in size. This second rise ensures that the rolls will be soft and airy, with a light texture inside.
- Bake the Rolls: Preheat your oven to 375°F (190°C). Bake the rolls for 15-20 minutes, or until golden brown on top. Rotate the pan halfway through baking for even browning. When done, brush the tops with melted butter for a shiny, soft crust.
Expert Pro Tips
Mastering dinner rolls is all about technique and attention to detail. Here are some expert tips to ensure your rolls are a success:
- Temperature Matters: Ensure your milk is warm but not hot; too high can kill the yeast.
- Use Fresh Yeast: Always check the expiration date on your yeast for the best results.
- Knead the Dough Well: Proper kneading develops gluten; don’t rush this step!
- Don’t Skip the Rises: Allow adequate rising time for the best texture and flavor.
- Butter for Flavor: Brushing the rolls with melted butter adds flavor and keeps them soft.
- Experiment with Flavors: Consider adding herbs like rosemary or garlic for a delicious twist.
- Check for Doneness: The rolls should be golden brown and sound hollow when tapped.
- Cool Properly: Let the rolls cool in the pan for a few minutes before transferring to a wire rack to prevent sogginess.
Common Mistakes and Troubleshooting
Even the best bakers can run into issues. Here are some common mistakes and how to troubleshoot them:
- Dense Rolls: This can happen if the dough wasn’t kneaded enough or if the yeast was expired.
- Dry Rolls: Overbaking can lead to dryness; keep an eye on them as they bake.
- Sticky Dough: If your dough is too sticky, add flour gradually until it’s manageable.
- Under-Risen Dough: If your dough hasn’t risen adequately, it may need more warmth or time.
- Burnt Bottoms: If the bottoms are browning too quickly, place a baking sheet under your pan to diffuse the heat.
Variations to Try
Once you’ve mastered the basic dinner rolls, here are some tasty variations to keep things interesting:
- Whole Wheat Rolls: Substitute half or all of the all-purpose flour with whole wheat flour for a nutty flavor.
- Garlic Butter Rolls: Mix minced garlic into the melted butter for a savory twist.
- Cinnamon Rolls: Add cinnamon and sugar to the dough for a sweet breakfast or dessert option.
- Cheesy Rolls: Incorporate shredded cheese into the dough for a gooey surprise.
Storage and Make-Ahead Instructions
Want to prepare ahead of time? Here’s how to store and make your dinner rolls:
- Room Temperature: Store cooled rolls in an airtight container for up to 2 days.
- Refrigeration: For longer storage, keep in the fridge for up to a week, but expect slight texture changes.
- Freezing: Freeze baked rolls in a freezer-safe bag for up to 3 months. Reheat in the oven to restore softness.
- Make-Ahead Dough: Prepare the dough and let it rise, then shape the rolls and refrigerate overnight before the second rise.
Frequently Asked Questions
Here are some common questions about making dinner rolls:
- Can I use instant yeast instead of active dry yeast? Yes, just mix it directly with the flour.
- What can I substitute for sugar? Honey or maple syrup can be used, but adjust the liquid accordingly.
- How do I know when my rolls are done baking? They should be golden brown and sound hollow when tapped.
- Can I make these rolls vegan? Yes, substitute the egg with flaxseed meal and use plant-based milk and butter.
- How do I reheat frozen rolls? Bake them directly from the freezer at 350°F until warmed through.
- What’s the best way to serve dinner rolls? Warm, with butter or a spread of your choice, such as honey butter.
- Can I double the recipe? Absolutely! Just ensure you have a large enough mixing bowl.
- What’s the best way to store leftover rolls? Keep them in an airtight container at room temperature for up to 2 days.
Nutritional Tips and Dietary Adaptations
While these rolls are delicious, here are some tips for a healthier approach:
- Reduce Sugar: Cut down on sugar for a less sweet bread.
- Whole Wheat Flour: Use whole wheat flour for added fiber and nutrients.
- Low-Fat Milk: Opt for low-fat or plant-based milk alternatives to reduce calories.
- Healthy Fats: Replace butter with olive oil for a heart-healthy option.
Essential Equipment Recommendations
Having the right tools can make your baking experience smoother:
- Mixing Bowl: A large, sturdy bowl for mixing ingredients.
- Measuring Cups and Spoons: Accurate measurements are key to baking success.
- Stand Mixer: A stand mixer with a dough hook can make kneading easier.
- Baking Dish: A greased 9×13 inch baking dish works well for this recipe.
- Kitchen Thermometer: Ensure your milk is at the right temperature for activating yeast.
Serving Suggestions
These dinner rolls are versatile and can complement a variety of dishes. Here are some serving suggestions:
- With Soups: Serve alongside a warm bowl of soup for a comforting meal.
- As a Side: Pair with roasted meats or hearty salads.
- With Spreads: Try with honey butter, garlic butter, or herb-infused oils.
- For Breakfast: Enjoy with jam or fresh fruit preserves as a sweet treat.
Conclusion
Now that you have all the tools you need to create perfect homemade dinner rolls, it’s time to get baking! Remember, practice makes perfect, and with each batch, you’ll find your rhythm and style. Whether you’re sharing these rolls at a family dinner or a festive gathering, they’re sure to be a hit. Happy baking!
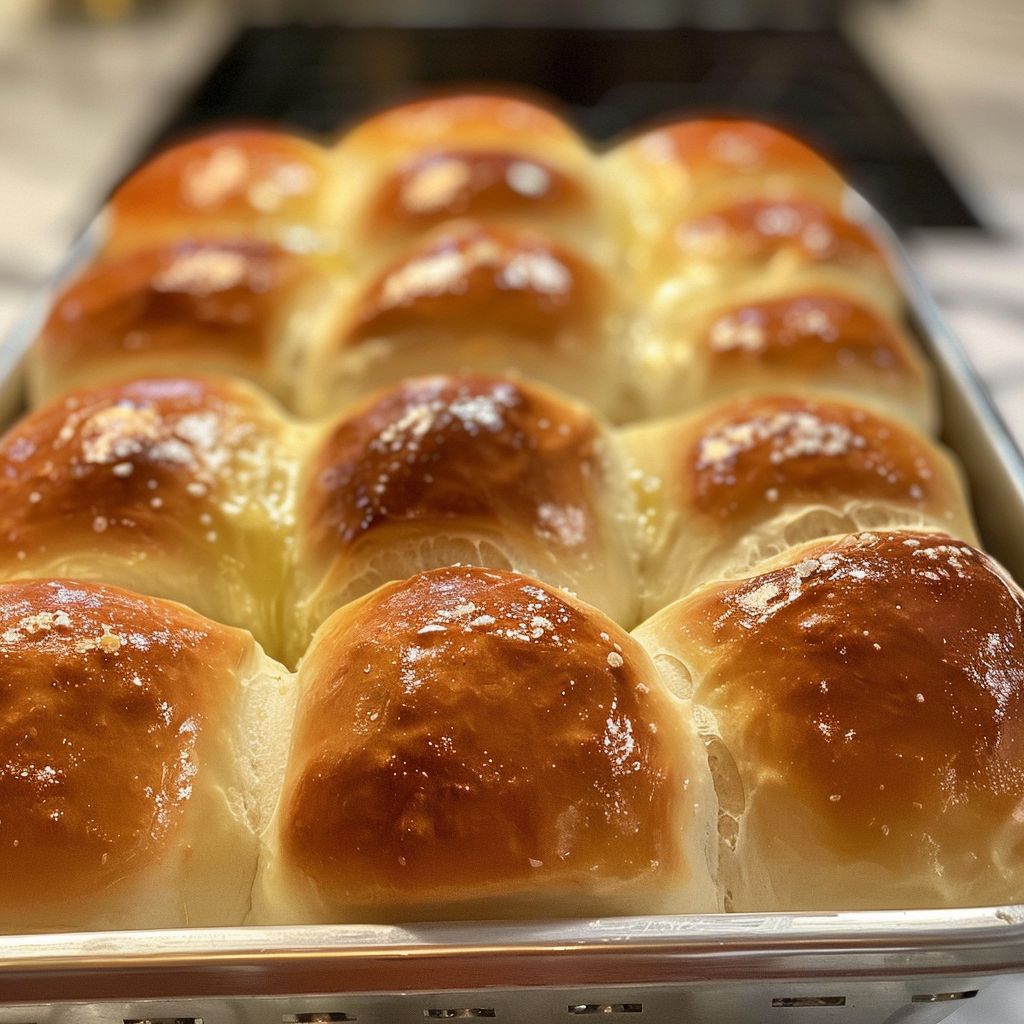
Dinner Rolls
Ingredients
Dough
- 3 ½ cups all-purpose flour
- 1 packet (2 ¼ tsp) active dry yeast
- ¼ cup granulated sugar
- 1 cup milk
- ¼ cup unsalted butter (softened)
- 1 large egg egg
- 1 tsp salt
Instructions
- Warm milk, add yeast and sugar, let sit 5-10 min until foamy.
- Mix flour, salt, butter, and egg; add yeast mixture and knead 8-10 min until smooth.
- Let dough rise in a greased bowl, covered, for 1 hour until doubled.
- Divide dough into 12 balls, place in greased dish, let rise 30-45 min.
- Preheat oven to 375°F (190°C), bake rolls 15-20 min until golden, brush with melted butter.