

Unlock the Secrets of Homemade No Bake Granola Bars
Welcome to the delightful world of homemade no bake granola bars! If you’re looking for a quick and nutritious snack, you’ve landed in the right place. Not only are these bars delicious, but they’re also incredibly easy to make, allowing you to customize them to your taste. In less than 30 minutes, you can prepare a batch that’s perfect for breakfast, an afternoon pick-me-up, or an on-the-go treat. Let’s dive into the bliss of creating your very own granola bars!
Why You’ll Love This Recipe
There are countless reasons to adore this no bake granola bar recipe. Here are just a few:
- Quick and easy: With minimal prep and no baking required, these bars come together in a flash!
- Customizable: Tailor your bars with your favorite ingredients—add chocolate chips, nuts, seeds, or dried fruits!
- Healthy snack option: Made with wholesome ingredients, these bars provide a satisfying energy boost without the guilt.
- Cost-effective: Homemade bars save you money compared to store-bought options packed with preservatives.
- Perfect for meal prep: Make a big batch to have snacks ready for the week ahead, and feel good about what you’re eating.
Essential Ingredients for Your No Bake Granola Bars
Let’s break down the ingredients you’ll need to make these tasty bars. Feel free to mix and match based on your preferences!
- Old-fashioned rolled oats: 2 cups, the base of your bars, providing fiber and texture.
- Nut butter: 1/2 cup, choose from peanut butter, almond butter, or cashew butter for creaminess and healthy fats.
- Sweetener: 1/3 cup of honey, maple syrup, or agave syrup to bind the mixture while adding a touch of sweetness.
- Mix-ins: 1/2 cup of your choice—chocolate chips, dried fruit, seeds, or nuts add flavor and crunch.
- Vanilla extract: 1 teaspoon (optional) for an extra layer of flavor.
- Salt: A pinch, to enhance the overall taste of your bars.
Step-by-Step Guide to Making No Bake Granola Bars

Here’s how to craft your granola bars effortlessly:
- Prepare Your Pan: Line an 8×8-inch baking dish with parchment paper, leaving extra hanging over the sides for easy removal later.
- Mix Dry Ingredients: In a large bowl, combine 2 cups of oats and 1/2 cup of your chosen mix-ins.
- Heat Wet Ingredients: In a small saucepan over low heat, melt 1/2 cup of nut butter and 1/3 cup of honey or maple syrup together, stirring until smooth.
- Combine Wet and Dry Ingredients: Pour the melted mixture over the dry ingredients and stir well until everything is coated evenly.
- Press into the Pan: Transfer the mixture into the prepared baking dish, pressing it down firmly with the back of a spoon or spatula.
- Chill: Place the dish in the fridge for at least 2 hours, or until firm enough to cut.
- Slice and Serve: Once set, lift the bars out using the parchment paper and cut into 10-12 bars. Enjoy immediately or store for later!
Pro Tips for Perfect No Bake Granola Bars
To ensure your granola bars turn out perfectly every time, keep these expert tips in mind:
- Press firmly: Ensure you pack the mixture tightly in the pan to prevent the bars from falling apart.
- Use fresh ingredients: Old oats or expired nut butters can affect the flavor and texture of your bars.
- Experiment with flavors: Add spices like cinnamon or nutmeg for an aromatic touch.
- Chill longer: If your bars are too soft, allow them to chill longer in the fridge for a firmer texture.
- Cut with a sharp knife: A sharp knife will help you cut cleanly without crumbling the bars.
- Store properly: Keep your bars in an airtight container to maintain freshness.
- Consider allergens: If you’re preparing for guests, clearly label any allergens in your ingredients.
- Try different nut butters: Each type of nut butter brings a unique flavor and texture—don’t hesitate to experiment!
- Make it a family affair: Involve kids in the mixing process for a fun cooking activity!
Common Mistakes and Troubleshooting
Every cook has faced challenges in the kitchen. Here are some common mistakes and how to avoid them:
- Bars crumble: This often happens if the mixture isn’t packed tightly enough. Make sure to press firmly into the pan.
- Too sweet: If you find your bars excessively sweet, reduce the sweetener next time or balance with unsweetened ingredients.
- Too dry: If your bars are dry, they might need more binding ingredients like nut butter or sweetener. Adjust as needed next time.
- Flavorless bars: Always taste your mixture before pressing into the pan to adjust flavors!
- Sticking to the pan: Ensure you use enough parchment paper or grease the pan lightly to avoid sticking.
Explore Delicious Variations
Not feeling like sticking to the original recipe? Here are some fun variations to try:
- Chocolate Chip Delight: Add 1/4 cup of mini chocolate chips for a sweet twist.
- Nutty Seed Bars: Substitute half of the oats with a mix of seeds like sunflower and pumpkin for added crunch.
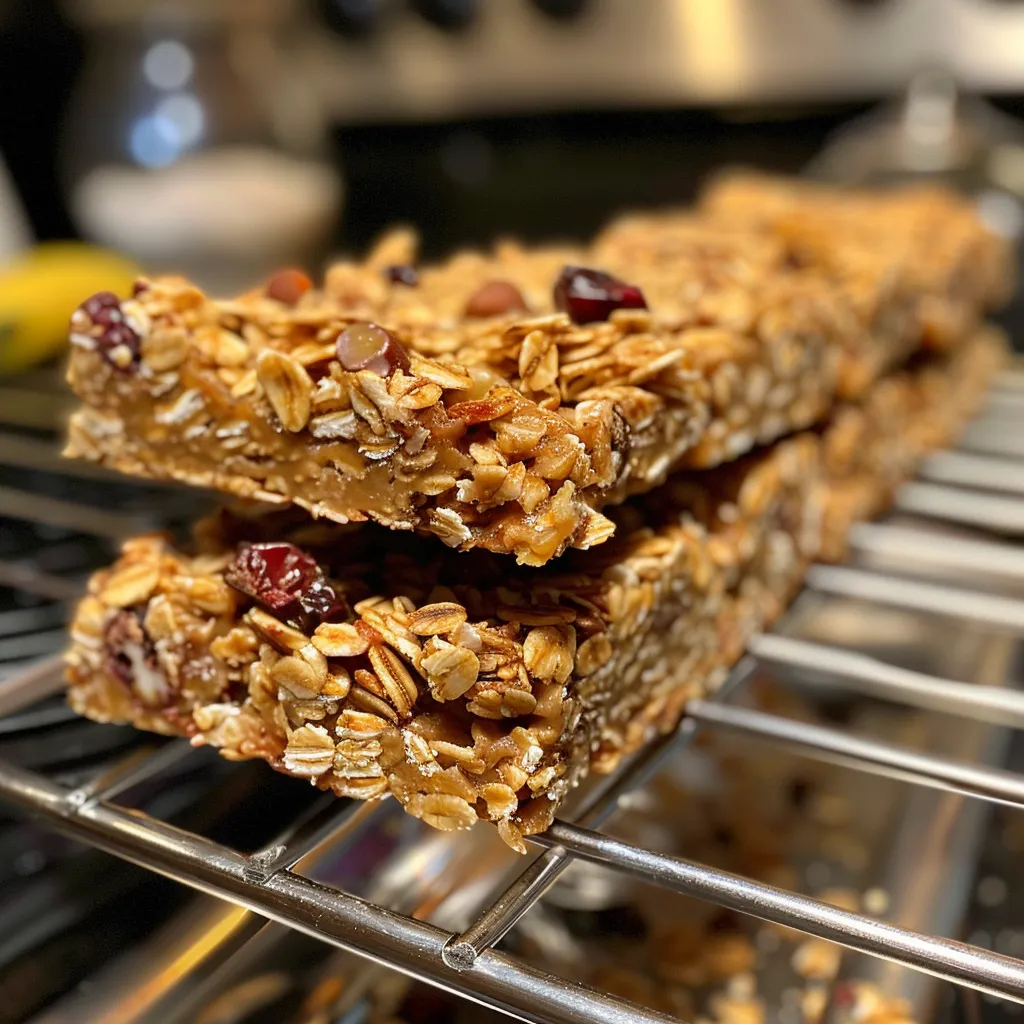
- Fruit and Nut Fusion: Incorporate dried cranberries, apricots, or raisins along with chopped nuts for a chewy texture.
- Peanut Butter Banana Bars: Mix in 1/2 mashed ripe banana for a natural sweetness and unique flavor.
Storage and Make-Ahead Instructions
These granola bars can be made ahead of time and stored for later. Here’s how:
- Refrigeration: Store in an airtight container in the fridge for up to 2 weeks.
- Freezing: For longer storage, place individual bars in a freezer-safe bag or container for up to 3 months. Simply thaw in the fridge when ready to eat.
Frequently Asked Questions
Here are some common questions regarding no bake granola bars:
- Can I store them at room temperature? Yes, but they may soften. It’s best to keep them in the fridge for optimal texture.
- How do I prevent the bars from falling apart? Ensure you press the mixture firmly into the pan and use enough nut butter or sweetener.
- What are some great add-ins for these bars? Nuts, seeds, chocolate chips, dried fruits, or even shredded coconut work wonderfully!
- Are they gluten-free? Yes, as long as you use certified gluten-free oats.
- Can I use different sweeteners? Absolutely! Maple syrup, agave, or brown rice syrup can be good substitutes.
- How do I know when they’re ready to slice? They should feel firm to the touch and hold their shape when pressed.
- Can I add protein powder? Yes, adding a scoop of protein powder can enhance the nutritional value.
- What’s the best way to cut them? Use a sharp knife to make clean cuts for a neat presentation.
Nutritional Tips and Dietary Adaptations
If you’re mindful of your dietary needs, here are some adaptations:
- For a vegan option: Use maple syrup instead of honey and choose a plant-based nut butter.
- For a low-carb version: Substitute oats with a mix of flaxseed meal and nuts.
- Nut-free option: Use sunflower seed butter instead of nut butter for those with allergies.
Essential Equipment for Making Granola Bars
To make the process even smoother, consider having these tools on hand:
- Mixing bowls: A large bowl for mixing ingredients and a smaller one for heating wet ingredients.
- Measuring cups and spoons: Accurate measurements are key to the perfect texture.
- Spatula: A good spatula helps in mixing and packing your granola bars tightly.
- Baking dish: An 8×8-inch baking dish lined with parchment paper is ideal for shaping the bars.
Serving Suggestions
These bars are perfect on their own, but here are some serving suggestions:
- With yogurt: Enjoy your bars crumbled over a bowl of Greek yogurt for a delicious breakfast.
- As a dessert: Pair with a scoop of ice cream for a sweet treat!
- On-the-go snack: Individually wrap them for a quick and healthy snack while you’re out.
In conclusion, making homemade no bake granola bars is not only simple but also rewarding. With endless customization options and the ability to control ingredients, you can create a snack that fits perfectly into your lifestyle. So gather your ingredients, unleash your creativity, and enjoy the process of making these delightful bars. Happy cooking!
Homemade No Bake Granola Bars
Ingredients
Dry Ingredients
- 2 cups old-fashioned rolled oats
- 0.5 cup nut butter (peanut, almond, or cashew)
- 0.33 cup honey or maple syrup
- 0.5 cup mix-ins (chocolate chips, dried fruit, seeds, or nuts)
- 1 teaspoon vanilla extract (optional)
Pinch of salt
Instructions
- Line an 8x8-inch baking dish with parchment paper.
- Mix oats and mix-ins in a large bowl.
- Heat nut butter and honey in a small saucepan until smooth, then stir in vanilla and salt.
- Pour wet mixture over dry ingredients and stir to coat evenly.
- Press mixture into prepared pan and chill for at least 2 hours.
- Cut into 10-12 bars and enjoy or store for later.