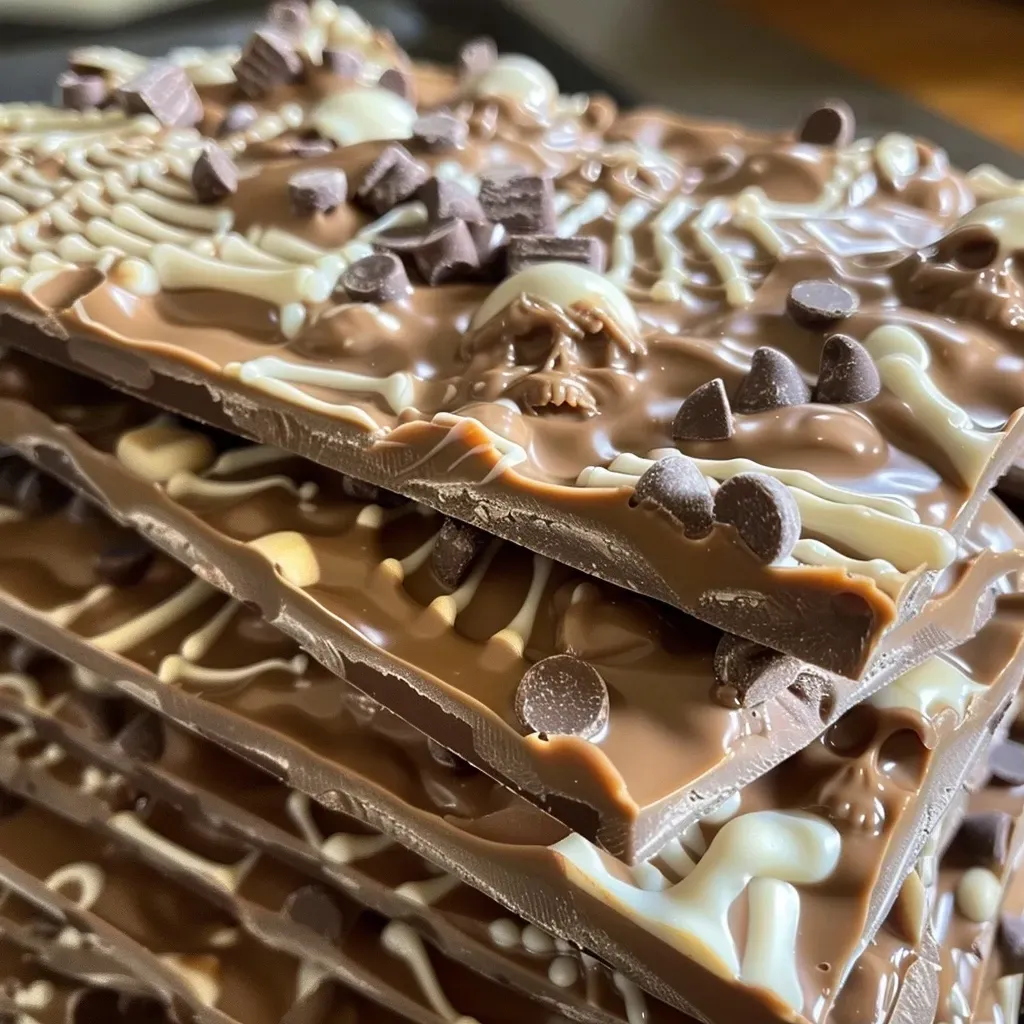
Welcome to the exciting world of Halloween treats! This season, let’s dive into crafting a delightful and spooky Halloween classic: Graveyard Chocolate Bark. This easy-to-make dessert combines the rich flavors of chocolate with the fun and festive spirit of Halloween, making it perfect for parties, family gatherings, or a cozy night in. In this comprehensive guide, we’ll walk you through every step of the process, ensuring you have all the tips, tricks, and variations to create your own delicious masterpiece.
Why You’ll Love This Recipe
There are countless reasons to love this Halloween Chocolate Bark recipe. Here are just a few:
- Easy to Make: This recipe requires minimal effort and only a few ingredients. Perfect for cooks of all skill levels!
- Customizable: You can easily adapt the bark with your favorite chocolates and toppings, making it uniquely yours.
- Fun for Everyone: Get the kids involved! Making this treat can be a fun family activity, fostering creativity and teamwork.
- Festive Presentation: The spooky decorations make this dessert a festive centerpiece that will impress your guests.
- Delicious Taste: The combination of creamy white chocolate and rich milk chocolate creates an irresistible flavor that everyone will love.
Ingredients Breakdown
To get started, let’s look at the ingredients you’ll need for this spooky treat:

★ Recommended Kitchen Tool
5-Speed Electric Hand Mixer
Make this recipe even easier with a quality 5-Speed Electric Hand Mixer — a must-have kitchen staple!
- Skeleton Candy Mold: Essential for creating the spooky skeleton shapes. You can find these at most craft or baking stores.
- White Chocolate Chips or Candy Melts: You’ll need between 1/2 to 3/4 cup. Feel free to substitute with any high-quality white chocolate.
- Milk Chocolate Chips: A standard 12-ounce bag or about 2 cups of your preferred chocolate works well.
- Chocolate Wafers: About 8, crushed. This adds texture and a delicious crunch to your bark.
- Disposable Decorating Bag (Optional): This is handy for neat filling of the mold, but not strictly necessary.
Step-by-Step Instructions
Now that we have all our ingredients, let’s dive into the step-by-step instructions to make your Graveyard Chocolate Bark:
- Melt the White Chocolate: Follow the package directions to melt your white chocolate chips or candy melts. If using a microwave, heat at 70 percent power for 90 seconds, stirring every 15 seconds until smooth.
- Fill the Mold: Use a piping bag or spoon to fill the skeleton molds with melted white chocolate. Bang the mold gently on the counter to settle the chocolate and remove air bubbles.
- Clear the Mold: Using a dough scraper or knife, carefully remove excess chocolate from the top of the mold for a clean finish.
- Set the Skeletons: Allow the filled molds to set. You can place them in the fridge for quicker results.
- Melt the Milk Chocolate: In a microwave-safe bowl, melt the milk chocolate chips. Spread the melted chocolate onto a baking tray lined with wax paper, aiming for an even layer that fills about 3/4 of the tray.
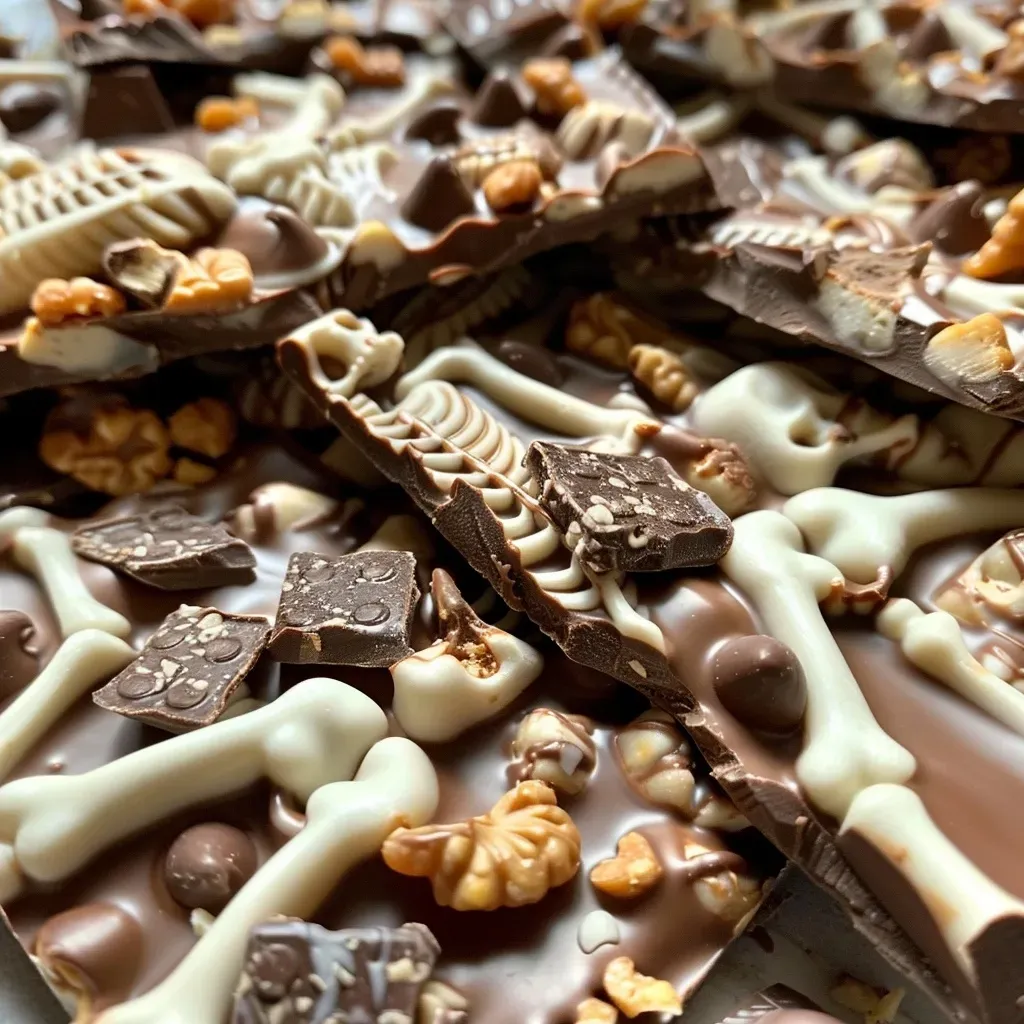
- Add the Skeletons: Once the milk chocolate is spread, arrange the set skeletons on top. Sprinkle the crushed chocolate wafers around them.
- Final Set: Refrigerate for about 30 minutes. Score the chocolate with a knife to create break lines before it fully sets, making it easier to break into pieces later.
- Serve and Enjoy: Turn the pieces over to remove excess cookie crumbs and serve your delightful Graveyard Chocolate Bark!
Pro Tips for Perfect Bark
To ensure your Halloween Chocolate Bark turns out perfectly, here are some expert tips:
- Work Quickly: Chocolate sets fast! Be prepared to add your toppings swiftly before it hardens.
- Quality Ingredients Matter: Use high-quality chocolate for the best flavor and texture.
- Mix and Match: Feel free to use dark chocolate, colored candy melts, or any other fun toppings that embody Halloween.
- Store Properly: Keep your bark in an airtight container to maintain freshness.
- Experiment: Don’t hesitate to try different molds and shapes to make your bark even spookier!
- Layer Flavors: Consider adding a sprinkle of sea salt or a dash of cinnamon for an unexpected flavor twist.
- Be Mindful of Temperatures: If your chocolate is too hot, it can cause condensation when placed in the fridge. Let it cool slightly before refrigerating.
- Involve the Kids: Let children decorate with additional spooky sweets like gummy worms or candy eyes.
Common Mistakes and Troubleshooting
Every cook faces challenges, so here’s how to avoid common mistakes when making your bark:
- Chocolate Not Melting Properly: If chocolate isn’t melting smoothly, it may have overheated. Always melt in short bursts and stir frequently.
- Mold Not Releasing: If your chocolate is stuck, try placing the mold in the freezer briefly to help it pop out.
- Too Many Crumbs: If you have excess cookie crumbs on your finished bark, gently shake or tap to remove them before serving.
Delicious Variations
Want to switch things up? Here are some fun variations to try:
- Dark Chocolate Delight: Use dark chocolate instead of milk chocolate for a richer flavor.
- Nutty Crunch: Add chopped nuts like pecans or almonds for an extra crunch.
- Fruity Twist: Incorporate dried fruits such as cranberries or raisins for a chewy contrast.
- Spooky Sprinkles: Top with Halloween-themed sprinkles to enhance the festive look.
Storage and Make-Ahead Instructions
Your Graveyard Chocolate Bark can be made ahead of time and stored properly:
- Storage: Keep the bark in an airtight container at room temperature for up to two weeks. Refrigeration can extend freshness but may alter texture slightly.
- Make-Ahead: You can prepare the bark a few days in advance. Just ensure it’s stored well to maintain its delightful crunch.
Frequently Asked Questions
Let’s address some common questions about making Graveyard Chocolate Bark:
- Can I use any kind of chocolate? Absolutely! Feel free to mix and match your favorite types of chocolate.
- What if I don’t have a mold? You can pour the chocolate onto a baking sheet and create free-form shapes instead.
- How do I prevent chocolate from seizing? Ensure no moisture comes into contact with the chocolate while melting.
- Can I freeze the bark? Yes, but it’s best to store it in an airtight container to prevent freezer burn.
- What toppings work well? Use any candy or nuts that you enjoy! The possibilities are endless.
- How do I make it more festive? Decorate with edible glitter or Halloween-themed candies for an extra touch.
- Can I use coconut oil to thin the chocolate? Yes, a little coconut oil can help achieve a smoother consistency.
- How long does it take to set? Typically, about 30 minutes in the refrigerator.
Nutritional Tips and Dietary Adaptations
If you’re looking to adapt this recipe for dietary preferences:
- Vegan Option: Use dairy-free chocolate chips and ensure any molds or toppings are vegan-friendly.
- Gluten-Free: Most chocolate and candy options are gluten-free, but always check labels to be sure.
- Lower Sugar: Opt for unsweetened chocolate and adjust sweetness with stevia or another sugar substitute.
Equipment Recommendations
Here’s a quick list of equipment that can make the process smoother:
- Microwave-Safe Bowls: For melting chocolate without risk of burns.
- Baking Tray: A lined tray for spreading your chocolate bark.
- Piping Bags: Handy for filling molds neatly.
- Dough Scraper: Great for smoothing and leveling chocolate.
- Offset Spatula: Perfect for spreading melted chocolate evenly.
Serving Suggestions
When it’s time to serve your delightful Graveyard Chocolate Bark, consider these fun ideas:
- Party Platter: Arrange pieces on a spooky-themed platter for a festive display.
- Gift Bags: Wrap pieces in Halloween-themed bags as treats for friends and family.
- Pair with Hot Cocoa: This bark pairs wonderfully with a warm cup of hot chocolate for a cozy treat.
- Movie Night Snack: Serve as a fun snack during Halloween movie marathons.
In conclusion, making Graveyard Chocolate Bark is not just a recipe; it’s a creative culinary experience perfect for Halloween festivities. With a few simple ingredients and steps, you can create a treat that’s as delightful to look at as it is to eat. So grab your ingredients, get creative, and enjoy the spooky season with this delicious bark!
graveyard chocolate bark
Ingredients
candy molds
- 0.5 cup white chocolate chips or white candy melts (enough to fill the mold)
- 1 12-ounce bag milk chocolate chips (or preferred chocolate)
- 8 pieces chocolate wafers (crushed)
disposable decorating bag (optional)
Instructions
- Melt white chocolate or candy melts as per package instructions, then pipe into molds and settle.
- Melt the milk chocolate chips and spread onto a lined tray, then arrange skeletons and sprinkle crushed wafers.
- Let set in the fridge for 30 minutes, then score and break into pieces.