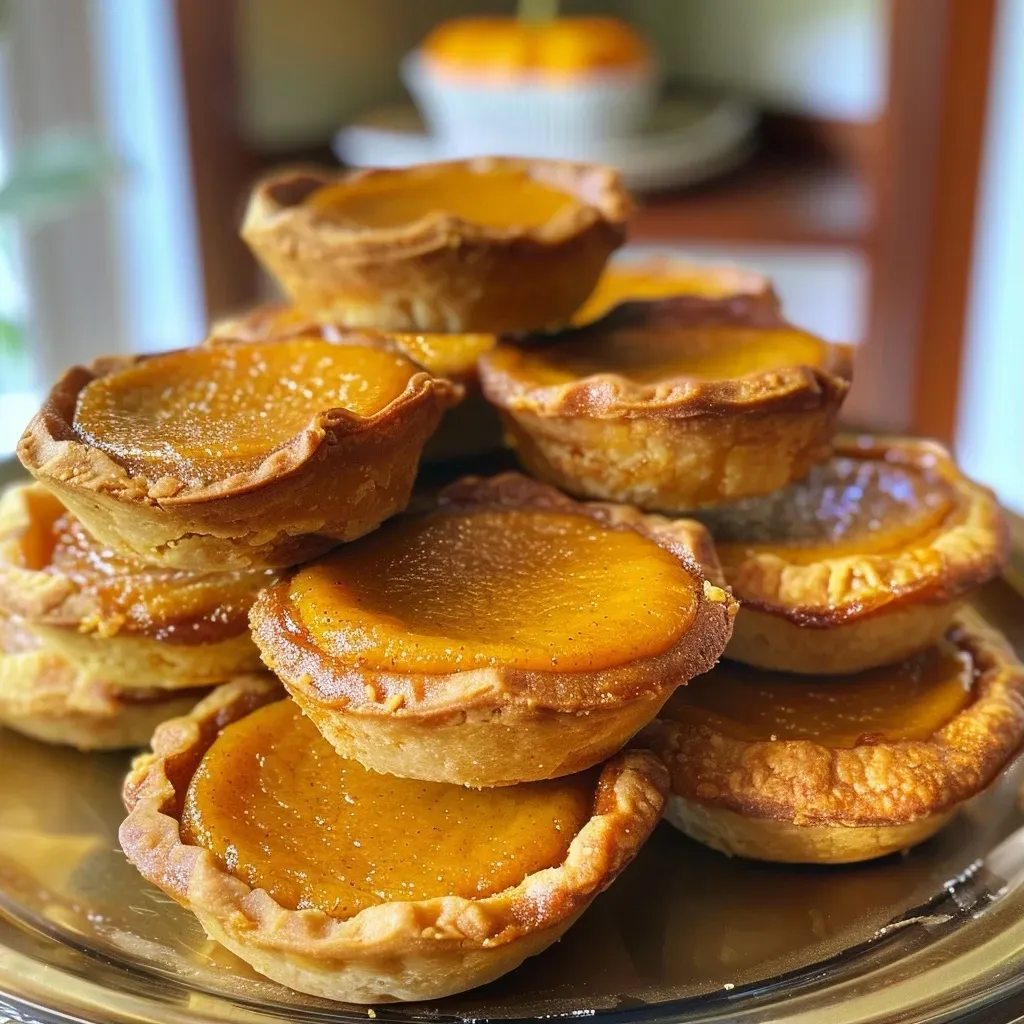
Delightful Mini Pumpkin Pies: Your Perfect Fall Treat
As the leaves turn golden and the air becomes crisp, there’s no better way to celebrate the fall season than with a batch of delightful mini pumpkin pies. These bite-sized treats are perfect for cozy gatherings, festive parties, or just a comforting evening at home. In this comprehensive guide, I’ll walk you through everything you need to know to make these delicious pies—from the ingredients to expert tips, and even variations to suit your taste. Whether you’re a seasoned baker or a beginner, you’ll find joy in creating these charming desserts that capture the essence of autumn.
Why You’ll Love This Recipe
- Perfect Portion Size: Mini pumpkin pies are easy to manage and serve, making them ideal for gatherings where guests want to sample multiple desserts.
- Simple Ingredients: With a few common pantry staples, you can whip up these delightful treats without any fuss.
- Rich, Flavorful Filling: The blend of spices and pumpkin puree creates a filling that’s both comforting and flavorful, perfect for the fall season.
- Make-Ahead Friendly: These pies can be made in advance and stored, making them a stress-free option for your holiday gatherings.
- Endless Variations: Customize your mini pies with different toppings or crusts to suit your personal taste or dietary needs.
Ingredient Breakdown
Let’s dive into the ingredients you’ll need to create these delightful mini pumpkin pies. I’ll also provide some substitutions for those who may have dietary restrictions or want to try something different.
Ingredients
- 1 Pie Crust: You can use homemade or store-bought. If you’re short on time, pre-made crusts work wonderfully.
- 4 tablespoons butter: Melted, for richness in the filling.
- ¼ cup light brown sugar: Adds sweetness and depth.
- ¼ cup granulated sugar: For additional sweetness balance.
- 1 teaspoon ground cinnamon: Essential for that warm, fall flavor.
- ¼ teaspoon ground nutmeg: Adds a fragrant touch to the filling.
- ⅛ teaspoon ground cloves: A little goes a long way for depth of flavor.
- ½ cup pumpkin puree: Use fresh pumpkin for a more robust flavor or canned for convenience.
- 1 tablespoon flour: Helps thicken the filling.
- ½ cup sweetened condensed milk: For creaminess and sweetness.
- 1 egg: Binds the filling together.
- ½ cup brown sugar (packed): For sweetness and moisture.
- ¼ cup granulated sugar: Additional sweetness.
- 2 teaspoons ground cinnamon: Enhances the pumpkin spice flavor.
- ½ teaspoon salt: Balances the sweetness.
- ½ cup butter (melted): For the crust.
- 1 cup all-purpose flour: For the crust texture.
Substitution Ideas
- Gluten-Free Option: Substitute the all-purpose flour with a 1:1 gluten-free flour blend.
- Dairy-Free Option: Use coconut cream instead of sweetened condensed milk and a dairy-free butter substitute.
- Natural Sweeteners: For a healthier twist, try using maple syrup or honey instead of sugars.
How to Make Mini Pumpkin Pies
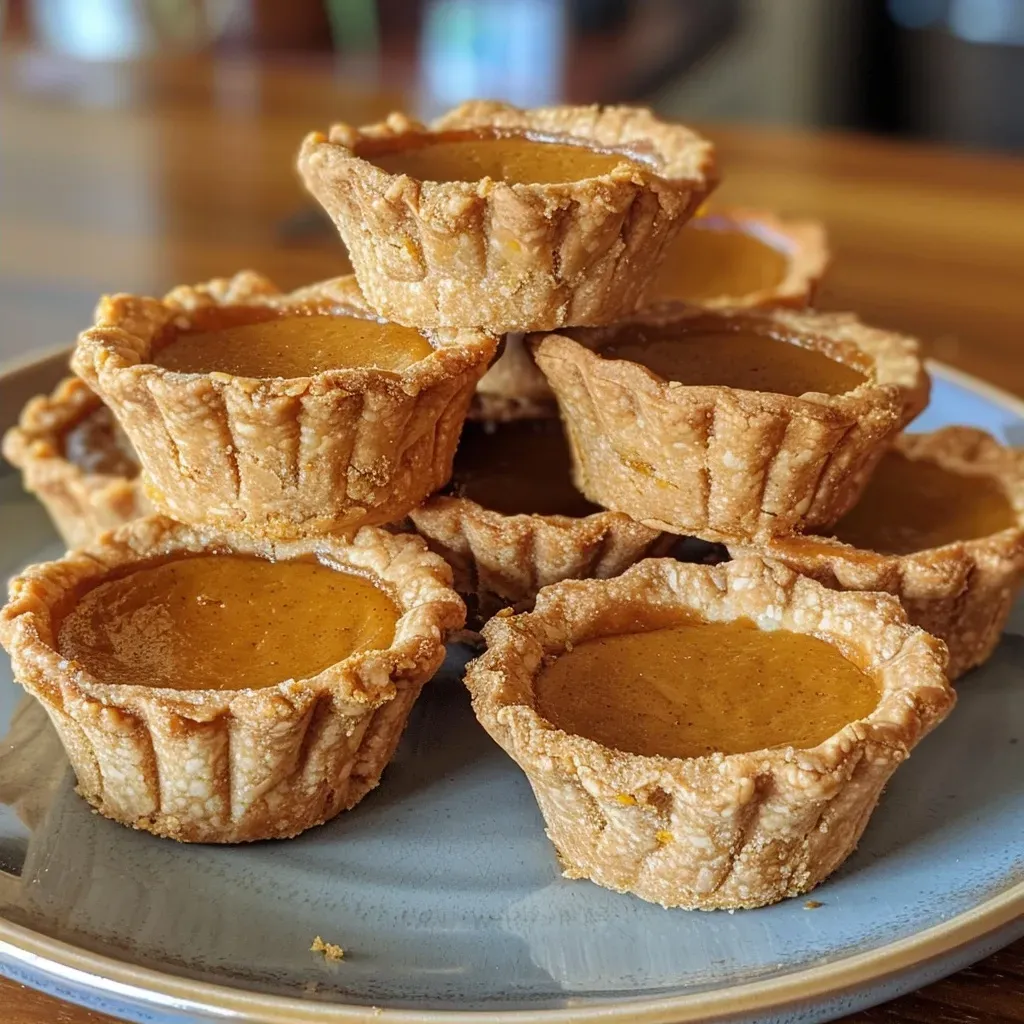
Follow these simple steps to create your mini pumpkin pies, and don’t worry if you don’t get it right the first time—practice makes perfect!

★ Recommended Kitchen Tool
Digital Kitchen Scale
Make this recipe even easier with a quality Digital Kitchen Scale — a must-have kitchen staple!
Instructions
- Roll out the crust dough on a lightly floured surface to about ¼ inch thick.
- Using a 5-inch cookie cutter, press out twelve circles and line 12 sections of a muffin pan with the discs.
- Chill the crust in the pan for another 20 minutes.
- Preheat the oven to 350°F (180°C).
- In a mixing bowl, combine the melted butter, brown sugar, granulated sugar, cinnamon, nutmeg, cloves, pumpkin puree, flour, sweetened condensed milk, and egg. Mix until smooth.
- Pour the filling into each crust, filling until just below the top.
- Bake for 20-25 minutes or until the filling is set and a toothpick inserted comes out clean.
- Allow to cool before serving. You can serve them warm or chilled.
Pro Tips for Perfect Mini Pumpkin Pies
To ensure your mini pumpkin pies turn out perfectly every time, consider these expert tips:
- Use a Cookie Scoop: For uniform filling portions, use a cookie scoop to fill each crust.
- Don’t Overmix: Mix just until the ingredients are combined to avoid a tough filling.
- Check for Doneness: The pies should be set but slightly jiggly in the center when they come out of the oven.
- Cool Completely: Let the pies cool completely in the pan before transferring them to avoid breaking the crust.
- Experiment with Spices: Feel free to adjust spices to your taste—try adding ginger or allspice for a unique twist.
- Use Fresh Pumpkin: If you can, roast and puree your own pumpkin for a richer flavor.
- Make Crust Ahead: You can prepare the crust a day in advance and refrigerate it until you’re ready to bake.
- Top with Whipped Cream: Serve with a dollop of fresh whipped cream or a sprinkle of pecans for added texture.
Common Mistakes and Troubleshooting
Even experienced bakers can run into issues. Here are some common pitfalls and how to avoid them:
- Too Watery Filling: Ensure your pumpkin puree is well-drained. If using fresh pumpkin, bake it until soft and mash thoroughly.
- Crust Shrinking: Make sure to chill the dough before rolling it out to prevent shrinkage during baking.
- Burnt Edges: If the edges of your crust are browning too quickly, cover them with foil during baking.
Variations to Try
Feeling adventurous? Here are some fun variations to switch things up:
- Chocolate Chip Mini Pumpkin Pies: Fold in mini chocolate chips into the filling for a decadent treat.
- Maple Pecan Topping: Top your mini pies with a mixture of chopped pecans and maple syrup for a crunchy topping.
- Spiced Rum Pumpkin Pies: Add a splash of spiced rum to the filling for an adult twist.
- Vegan Mini Pumpkin Pies: Substitute the egg with a flax egg and use coconut cream in the filling.
Storage and Make-Ahead Instructions
These mini pumpkin pies are great for make-ahead preparation:
- Refrigeration: Store in an airtight container in the fridge for up to 4 days.
- Freezing: Freeze baked pies in a single layer in an airtight container. They can be frozen for up to 1 month. Thaw overnight in the refrigerator before serving.
Comprehensive FAQ
Here are some frequently asked questions to help you navigate your mini pumpkin pie-making journey:
- Can I use fresh pumpkin instead of canned? Yes, just ensure it is cooked and pureed smoothly.
- How do I know when the pies are done? The filling should be set with a slight jiggle in the center.
- Can I make these pies without a muffin pan? Yes, you can use a tart pan or individual tartlet pans.
- What can I serve with mini pumpkin pies? They pair wonderfully with whipped cream, ice cream, or a sprinkle of nuts.
- How do I store leftover pies? Keep them in an airtight container in the fridge for up to 4 days.
- Can I make the crust ahead of time? Absolutely! Prepare it a day in advance and refrigerate.
- What is the best way to reheat mini pumpkin pies? Reheat in the oven at 350°F for about 10 minutes until warmed through.
- Are these pies gluten-free? You can easily adapt the recipe by using gluten-free flour for the crust.
Nutritional Considerations
These mini pumpkin pies can fit into a balanced diet when enjoyed in moderation. Each pie offers a delightful mix of carbohydrates, fats, and vitamins from the pumpkin. Here are some nutritional tips:
- Portion Control: Due to their small size, it’s easy to enjoy one without overindulging.
- Healthier Sweeteners: Consider using honey or maple syrup to reduce refined sugars.
- Pair with Protein: Serve with Greek yogurt or a scoop of nut butter for added protein.
Equipment Recommendations
Having the right tools can make your baking experience much smoother:
- Quality Muffin Pan: A non-stick muffin pan ensures easy release of your mini pies.
- Rolling Pin: A good rolling pin helps you achieve even dough thickness.
- Cookie Cutter: A 5-inch cutter makes perfect crust circles.
- Mixing Bowls: Use a variety of bowl sizes for mixing ingredients.
Serving Suggestions
To elevate your mini pumpkin pies, consider these serving ideas:
- With Whipped Cream: A dollop of freshly whipped cream enhances the flavors beautifully.
- Garnished with Nuts: Sprinkle chopped pecans or walnuts on top for added crunch.
- Drizzled with Caramel: A drizzle of caramel sauce adds a sweet touch and looks stunning.
Conclusion
Baking mini pumpkin pies is not just about making a dessert; it’s about creating memories and embracing the flavors of the season. With this comprehensive guide, I hope you feel empowered to whip up these delightful treats in your own kitchen. Remember, cooking is a journey—don’t be afraid to experiment and make these pies your own. Enjoy the process, and let the delicious aroma of pumpkin spice fill your home. Happy baking!
Mini Pumpkin Pies
Ingredients
Pie Crust
- 4 tablespoons butter
- 0.25 cup light brown sugar
- 0.25 cup granulated sugar
- 1 teaspoon ground cinnamon
- 0.25 teaspoon ground nutmeg
- 0.125 teaspoon ground cloves
- 0.5 cup pumpkin puree
- 1 tablespoon flour
- 0.5 cup sweetened condensed milk
- 1 egg egg
- 0.5 cup brown sugar (packed)
- 0.25 cup granulated sugar
- 2 teaspoons ground cinnamon
- 0.5 teaspoon salt
- 0.5 cup butter (melted)
- 1 cup all-purpose flour
Instructions
- Roll out the crust dough on a lightly floured surface to about ¼ inch thick.
- Using a 5-inch cookie cutter, cut out twelve circles and line muffin pan sections.
- Chill the lined pan for 20 minutes.
- Preheat oven to 350F/180C and bake until filling is set, about 15 minutes.