
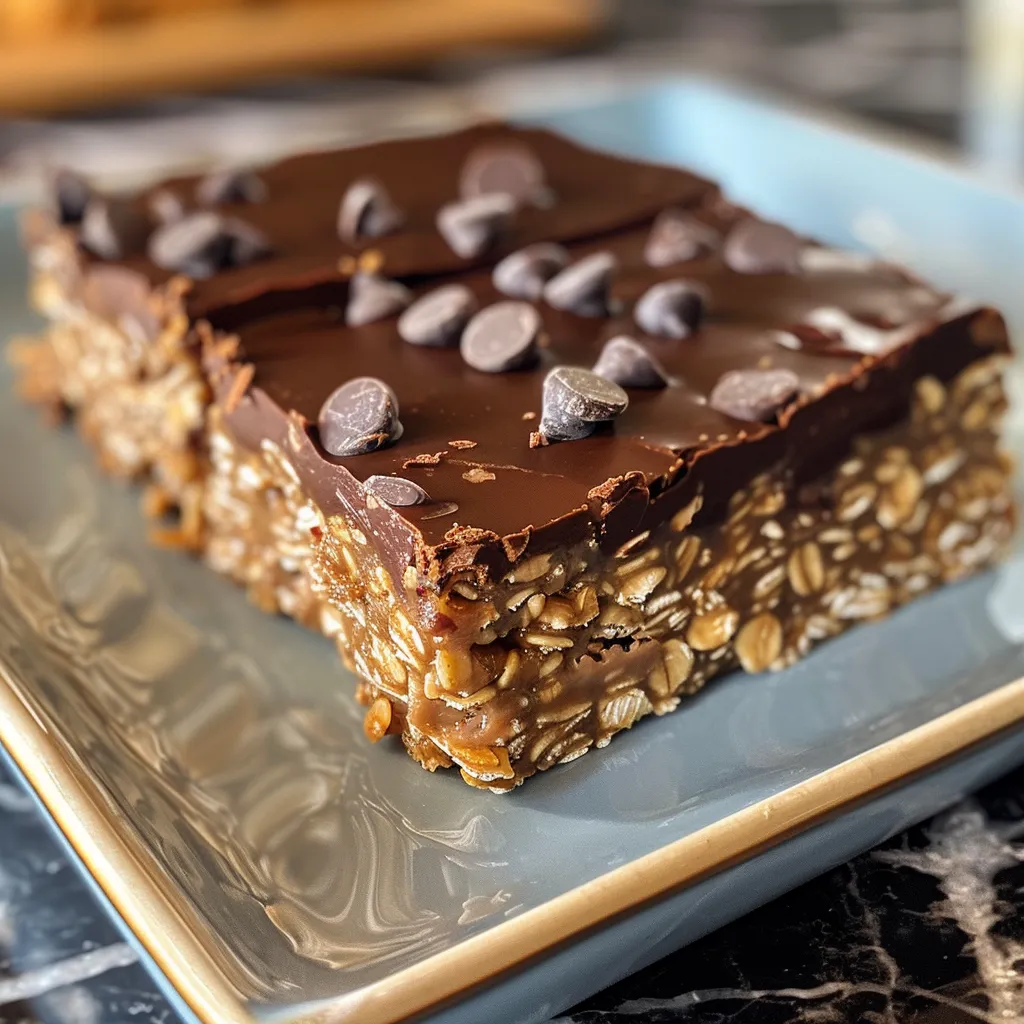
Welcome to your new favorite dessert that requires no oven and is packed with flavor! These no bake chocolate oatmeal bars are perfect for a quick snack or a delightful treat to share. With simple ingredients and straightforward steps, you’ll find that creating deliciously satisfying bars is easier than ever. Let’s dive into why these bars are not only a hit but also a must-try recipe in your kitchen!
Why You’ll Love This Recipe
These no bake chocolate oatmeal bars come with numerous benefits that make them a staple in any home:
- Quick and Easy: No baking means you can whip these up in just 20 minutes!
- Minimal Cleanup: With fewer dishes involved, you’ll spend less time cleaning and more time enjoying!
- Customizable: You can easily modify the recipe to suit your taste—add nuts, dried fruit, or swap out the peanut butter!
- Perfect for All Occasions: Whether it’s a family gathering, a picnic, or a midnight snack, these bars fit right in.
- Healthy Ingredients: Packed with oats and nut butter, these bars provide energy without the guilt!
Ingredients Breakdown
To make these delicious no bake chocolate oatmeal bars, you’ll need the following ingredients:
- 1 cup butter: This provides richness and helps bind the ingredients.
- 1 1/2 cup brown sugar (packed): For sweetness and a hint of caramel flavor.
- 1 teaspoon vanilla extract: Adds a depth of flavor.
- 3 cups rolled oats: The base of your bars; rolled oats provide the best texture.
- 1 cup semisweet or dark chocolate chips: For that indulgent chocolate flavor.
- 1/2 cup peanut butter: Binds everything together and adds creaminess.
Feel free to modify these ingredients based on your preferences or dietary needs. For instance, you can substitute butter with coconut oil for a dairy-free option, or use almond butter instead of peanut butter for a nut-free version.
How to Make No Bake Chocolate Oatmeal Bars
Follow these simple steps to create your no bake chocolate oatmeal bars:
- Line an 8-inch or 9-inch square baking dish with parchment paper, allowing some overhang for easy removal later.
- In a large saucepan over medium heat, melt the butter and brown sugar together until the butter is melted and the sugar is dissolved. Stir in the vanilla extract.
- Add the rolled oats to the mixture and cook over low heat for 3 to 4 minutes, stirring until everything is well blended.
- Pour half of the oat mixture into the prepared baking dish and spread it evenly, pressing it down firmly.
- In a microwave-safe bowl, melt the peanut butter and chocolate chips together, stirring until smooth.
- Pour the chocolate mixture over the oat layer, reserving about 1/4 cup for drizzling later. Spread the chocolate mixture evenly.
- Top with the remaining oat mixture, pressing gently, and drizzle with the reserved chocolate mixture.
- Refrigerate for 2 to 3 hours or overnight until set. Before cutting into bars, bring them to room temperature.
Pro Tips for Perfect Bars

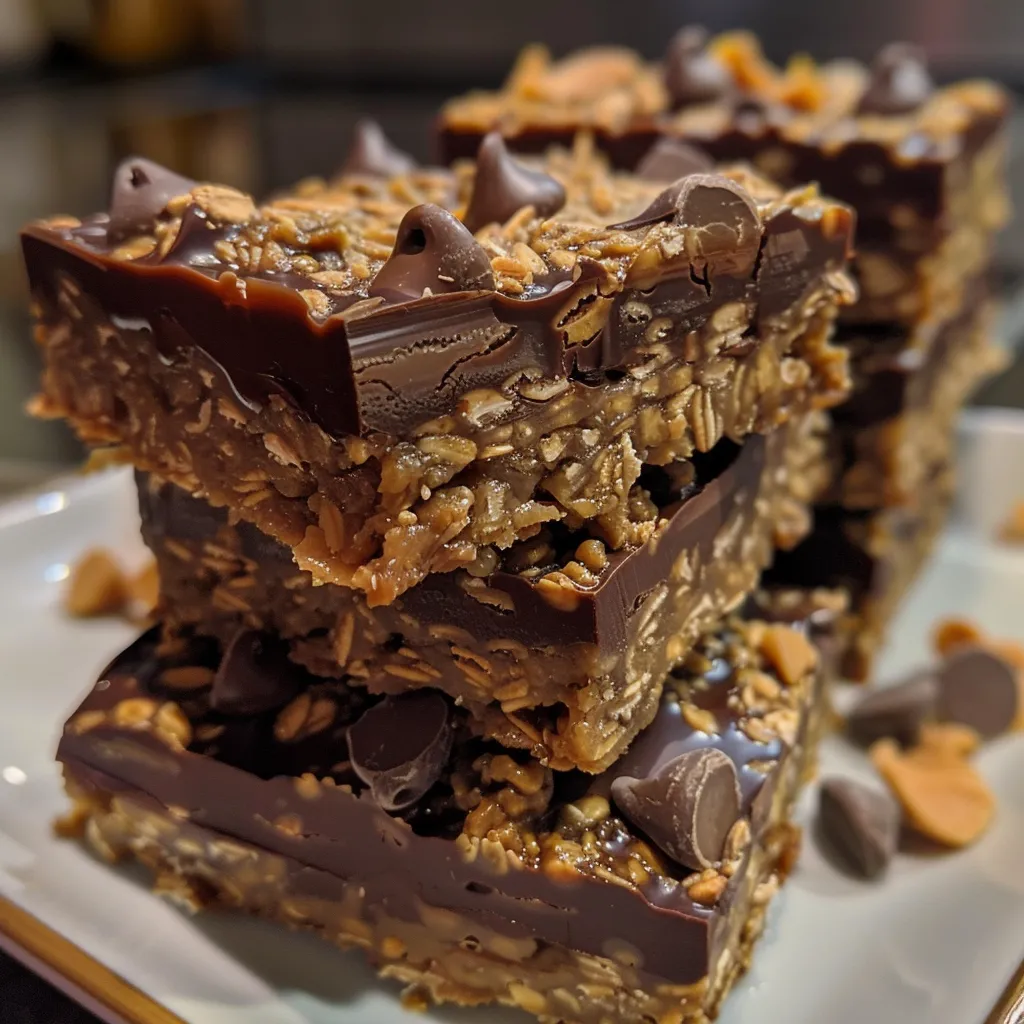
Here are some expert insights to ensure your no bake chocolate oatmeal bars turn out perfectly:
- Use rolled oats: Quick oats can lead to a mushy texture; stick with rolled oats for the best results.
- Press firmly: Make sure to press the layers down well to ensure the bars hold together after refrigeration.
- Chill thoroughly: Allow the bars to chill completely to achieve the perfect texture.
- Cut with a hot knife: To get clean cuts, dip your knife in hot water before slicing the bars.
- Experiment with flavors: Feel free to add mix-ins like coconut flakes, chopped nuts, or dried fruits.
Common Mistakes and Troubleshooting
Here are some common pitfalls to avoid when making your no bake chocolate oatmeal bars:
- Too soft: If the mixture doesn’t boil long enough, the bars may turn out too soft. Make sure the sugar mixture is fully melted and combined.
- Dry and crumbly: Overcooking the sugar mixture can lead to dry bars. Keep a close eye on the cooking process.
- Not enough flavor: Ensure you’re using quality chocolate and peanut butter for that rich flavor.
Variations & Substitutions
Here are some exciting variations you can try:
- Nut-Free: Replace peanut butter with sunbutter for a nut-free alternative.
- Vegan: Use coconut oil and vegan chocolate chips to create a vegan-friendly version.
- Fruit-Infused: Add dried cranberries or raisins for a fruity twist.
- Spicy Kick: Incorporate a pinch of cayenne pepper for an unexpected spicy flavor!
Storage and Make-Ahead Instructions
Your no bake chocolate oatmeal bars can be stored in the refrigerator for up to one week. For longer storage, freeze them in an airtight container for up to three months. To make ahead, simply prepare the bars and keep them in the fridge until you’re ready to serve.
Nutrition Tips and Dietary Adaptations
These bars can be tailored to suit various dietary needs:
- Gluten-Free: Ensure your oats are certified gluten-free to accommodate gluten sensitivities.
- Lower Sugar: Substitute some or all of the brown sugar with a natural sweetener like agave syrup.
- Protein Boost: Add a scoop of protein powder to the oat mixture for an extra nutritional punch.
Equipment Recommendations
To make your life easier, here are some kitchen tools that can help:
- Microwave-Safe Bowl: For melting chocolate and peanut butter smoothly.
- Large Saucepan: A good-quality saucepan is essential for melting and mixing ingredients.
- Spatula: A silicone spatula works best for mixing and spreading.
- Parchment Paper: To line your baking dish and ensure easy removal of the bars.
Serving Suggestions
These no bake chocolate oatmeal bars can be enjoyed on their own, but here are some serving ideas:
- Pair with a scoop of vanilla ice cream for an indulgent dessert.
- Serve alongside fresh fruit for a balanced snack.
- Drizzle with extra chocolate or caramel sauce for a gourmet touch.
Comprehensive FAQ
Here are some common questions regarding these delicious bars:
- Can I use quick oats instead of rolled oats? It’s best to stick with rolled oats for the right texture.
- How do I know when the sugar mixture is ready? It should be fully melted and combined without any graininess.
- Can I make these bars without peanut butter? Yes, feel free to substitute with another nut or seed butter.
- How long do these bars last? They can be stored in the fridge for up to a week or frozen for three months.
- Can I add protein powder to the recipe? Absolutely! It’s a great way to boost the nutritional value.
- What if my bars are too soft? Ensure you’ve cooked the sugar mixture long enough, and press the layers firmly.
- Can I use different types of chocolate? Yes, you can use dark chocolate, milk chocolate, or even white chocolate.
- What’s the best way to cut the bars? Use a hot knife dipped in warm water for clean cuts.
In conclusion, these no bake chocolate oatmeal bars are not only easy to make but also customizable to fit any occasion or dietary need. Whether you’re looking for a quick snack or a dessert to impress, these bars are sure to satisfy your cravings. Enjoy creating these delightful treats, and don’t hesitate to share them with your loved ones!
No Bake Chocolate Oatmeal Bars
Ingredients
Dough
- 1 cup butter
- 1 2 cup brown sugar packed
- 1 teaspoon vanilla extract
- 3 cups rolled oats
- 1 cup semisweet or dark chocolate chips
- 1 2 cup peanut butter
Instructions
- Line an 8-inch or 9-inch square baking dish with parchment paper and set aside.
- Melt butter and brown sugar in a large saucepan over medium heat until dissolved. Stir in vanilla and oats, then cook over low heat for 3-4 minutes.
- Press half of the oat mixture into the prepared dish. Melt peanut butter and chocolate chips together and spread over the crust. Reserve some for drizzling.
- Spread remaining oat mixture over the chocolate layer, press gently, then drizzle with remaining chocolate mixture. Refrigerate for 2-3 hours before cutting.
