Are you ready to transform your dining experience? Homemade Yogurt Rolls are the perfect way to bring warmth, comfort, and deliciousness to your dinner table. This easy recipe combines simple ingredients that yield fluffy, delightful rolls that pair beautifully with any meal. In this comprehensive guide, we’ll explore everything you need to know to master these rolls—from ingredients and techniques to troubleshooting tips and variations. Let’s dive in!
Why You’ll Love This Recipe
These homemade yogurt rolls are not just delicious; they also come with a host of benefits:
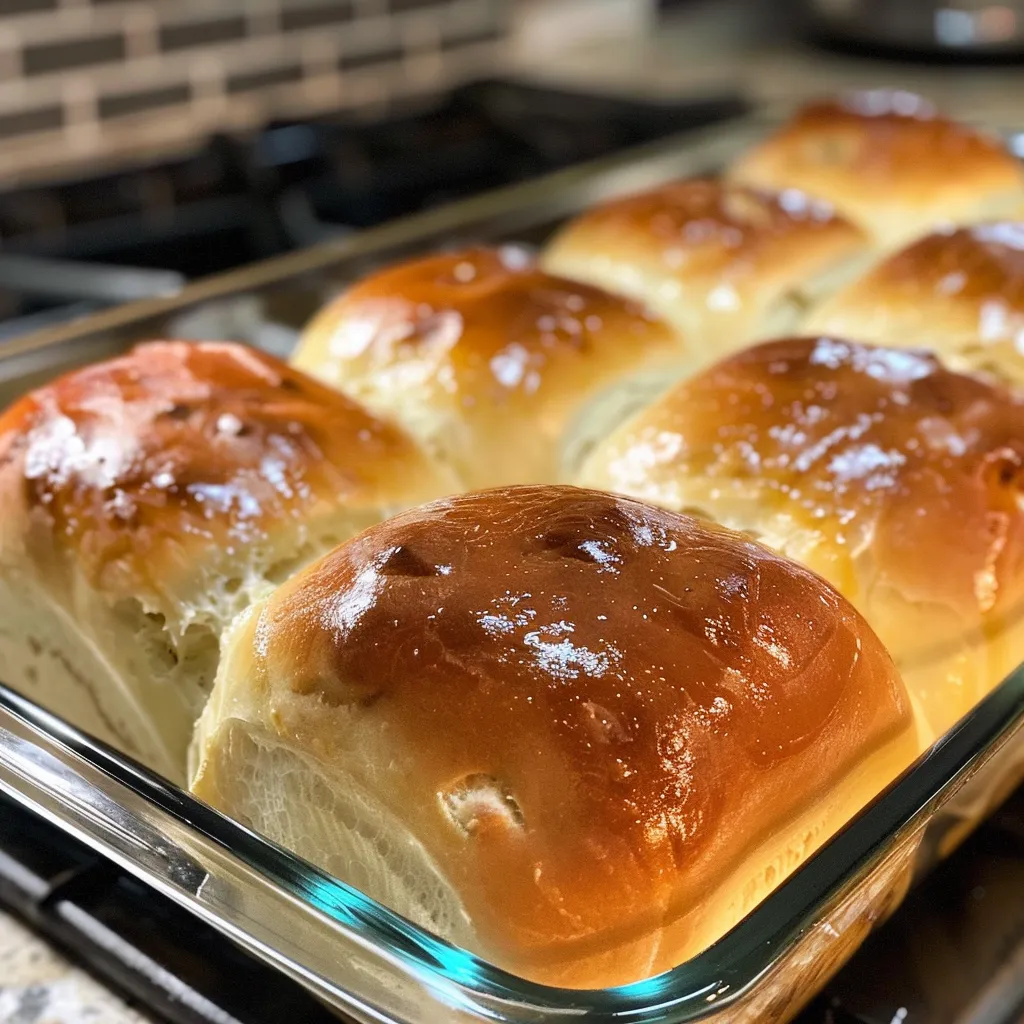
- Fluffy texture: The combination of yogurt and yeast yields rolls that are soft and airy, perfect for mopping up sauces or enjoying on their own.
- Quick preparation: With just a few simple steps, you can prepare these rolls in under two hours, including rising time.
- Versatile: These rolls can accompany any meal, from hearty stews to light salads, making them a timeless addition to your recipe repertoire.
- Healthier alternative: Utilizing Greek yogurt not only adds moisture but also contributes protein, making these rolls a nutritious option.
- Customizable: You can easily adapt the recipe by adding herbs, cheeses, or spices to cater to your taste preferences.
Ingredient Breakdown
Let’s take a closer look at the ingredients you’ll need to make these delightful rolls:
- 1 Tablespoon Dry, Active Yeast: Vital for the rising process, this yeast will help create the fluffy texture.
- 1 Cup Warm Water: Activates the yeast; ensure the temperature is between 100°F and 110°F for optimal results.
- 2 teaspoons Sugar: Feeds the yeast, contributing to the rising process and a subtle sweetness.
- 2 Eggs: Provides richness, flavor, and a lovely golden color to the rolls.
- 1/4 Cup Plain Yogurt: The star ingredient that adds moisture and a slight tang.
- 1 1/2 teaspoons Salt: Enhances flavor and contributes to the dough’s structure.
- 3 1/2 Cups Unbleached All-Purpose Flour: The backbone of the rolls, giving them structure and chew.
**Substitutions**: If you’re looking for alternatives, here are some great options:
- Flour: You can substitute part of the all-purpose flour with whole wheat flour for added nutrition.
- Yogurt: Greek yogurt can be replaced with sour cream or a dairy-free yogurt for a vegan option.
- Eggs: For a vegan alternative, consider using flaxseed meal or applesauce as a binding agent.
How to Make Yogurt Dinner Rolls
Follow these simple steps to create your own batch of fluffy yogurt rolls:
- In a bowl, combine the warm water, yeast, and sugar. Allow it to sit until foamy, about 5 minutes.
- Whisk in the eggs and yogurt until well mixed.
- Add 2 cups of flour and the salt, stirring to combine.
- Gradually add remaining flour until the dough starts to pull together.
- Turn the dough out onto a floured board and knead until soft and elastic.
- Lightly grease a large bowl and place the dough inside, turning to coat. Cover with a towel and let rise until doubled, about 45 minutes.
- Prepare a cookie sheet by greasing it lightly.
- Punch down the risen dough and turn it out onto a floured surface. Divide the dough into 12 equal portions.
- Shape each portion into rolls and place them on the prepared cookie sheet, leaving space between each.
- Cover the rolls with a towel and let them rise again until doubled, about 30-45 minutes.
- Preheat the oven to 375°F.
- Bake the rolls for 15-20 minutes until golden brown and hollow-sounding when tapped.
- Cool on wire racks before serving.
Pro Tips for Perfect Rolls
To ensure your yogurt rolls turn out perfectly every time, consider these expert tips:
- Check yeast freshness: Always use active, fresh yeast for the best results. Test it by mixing it with warm water and sugar—if it foams, it’s good to go!
- Don’t rush the rising process: Allow the dough to rise in a warm, draft-free area. This is crucial for developing flavor and texture.
- Flour as needed: Use just enough flour while kneading to keep the dough manageable, but avoid adding too much, as it can lead to dense rolls.
- Preheat your oven: Ensure your oven is fully preheated before baking to achieve the perfect crust.
- Cool completely before storing: This prevents moisture buildup and keeps your rolls fresh longer.
- Experiment with flavors: Add herbs, garlic powder, or cheese to the dough for a unique twist.
- Shape creatively: Don’t just stick to traditional rolls; try shaping them into knots or spirals for a fun presentation.
- Use a thermometer: For perfectly baked rolls, the internal temperature should reach about 190°F when done.
Common Mistakes and Troubleshooting
Even the best chefs make mistakes. Here are some common pitfalls and how to avoid them:
- Dough too sticky: If your dough is too sticky to handle, gradually incorporate a little more flour until it reaches the desired consistency.
- Dough not rising: Ensure your yeast is active and that the dough is placed in a warm, draft-free environment.
- Dense rolls: This can occur from over-kneading or using too much flour. Aim for a soft, elastic dough.
- Burnt bottoms: If your rolls are burning on the bottom, try placing them on a higher rack in the oven or using a baking sheet to insulate them.
Variations of Yogurt Rolls
Get creative! Here are some variations to try:
- Herb-Infused Rolls: Add chopped fresh herbs like rosemary or thyme into the dough for a fragrant twist.
- Cheesy Rolls: Mix in shredded cheese for a savory addition that melts beautifully.
- Sweet Rolls: Incorporate cinnamon and sugar for a delightful breakfast treat.
- Whole Wheat Rolls: Substitute half of the all-purpose flour with whole wheat flour for a healthier option.
Storage and Make-Ahead Instructions
To keep your rolls fresh and delicious:
- Room temperature: Store cooled rolls in an airtight container at room temperature for up to 2 days.
- Refrigeration: For longer storage, place them in the fridge for up to a week; just reheat before serving.
- Freezing: Freeze baked rolls in a freezer-safe bag for up to 3 months. Thaw and reheat in the oven before serving.
Frequently Asked Questions
Here’s a compilation of common questions about yogurt rolls:
- Can I use instant yeast? Yes, you can substitute instant yeast, but you won’t need to proof it in warm water first.
- What if my dough doesn’t rise? This can happen if your yeast is old or if the dough is in a cold environment. Try again with fresh yeast in a warmer spot.
- Can I make these rolls ahead of time? Absolutely! You can make the dough ahead, refrigerate it, and shape and bake it when you’re ready.
- How do I know when the rolls are done? They should be golden brown and sound hollow when tapped. An instant-read thermometer will also help; they should reach about 190°F internally.
- Can I use whole wheat flour? Yes, you can substitute part of the all-purpose flour with whole wheat flour, but it may change the texture slightly.
- Are these rolls gluten-free? The original recipe isn’t gluten-free, but you can use a gluten-free flour blend for a suitable alternative.
- What should I serve with these rolls? They pair wonderfully with soups, stews, and salads or can be enjoyed with butter and jam.
- Can I add spices? Yes! Feel free to add garlic powder, onion powder, or other spices to the dough for added flavor.
Nutritional Tips and Dietary Adaptations
For those mindful of their dietary intake:
- Protein boost: Greek yogurt not only adds moisture but also increases the protein content of your rolls—great for a balanced meal.
- Low-fat option: Use low-fat yogurt and egg whites to reduce calories and fat.
- Vegan adaptation: Substitute eggs with flaxseed meal and yogurt with a plant-based alternative to make these rolls vegan-friendly.
Essential Equipment for Success
Having the right tools can make all the difference:
- Mixing bowls: A set of various-sized mixing bowls will help in preparing and kneading the dough.
- Measuring cups and spoons: Accurate measurements are crucial for baking success.
- Kitchen scale: For precise measurements, especially if you’re working with flour.
- Rolling pin: Useful if you decide to roll out your dough for different shapes.
- Baking sheets: Non-stick or parchment-lined sheets can prevent sticking and make cleanup easier.
Serving Suggestions
To make the most of your yogurt rolls:
- Pair with spreads: Serve with butter, herb-infused oils, or homemade jams.
- Use for sandwiches: Slice them open and fill with your favorite meats, cheeses, or veggies for a delightful sandwich.
- Accompany soups: These rolls are excellent for dipping into hearty soups or stews.
In conclusion, these Homemade Yogurt Rolls are a delightful addition to any meal, offering not just flavor but also a chance to connect with family and friends over the kitchen table. With this comprehensive guide, you’re well on your way to mastering this recipe. Happy baking!
Yogurt Dinner Rolls
Ingredients
Yeast
- 1 Tablespoon Dry, Active Yeast
- 1 Cup Warm Water
- 2 teaspoons Sugar
Eggs
- 2 Eggs
- 1/4 Cup Plain Yogurt
- 1 1/2 teaspoons Salt
- 3 1/2 Cups Unbleached All-Purpose Flour
Instructions
- Combine warm water, yeast, and sugar; let sit until foamy (~5 min).
- Whisk in eggs and yogurt into yeast mixture.
- Add 2 cups flour and salt; stir until combined.
- Gradually add remaining flour, knead until dough is soft and elastic.
- Let dough rise until doubled (~45 min), shape into 12 rolls, and place on greased sheet.
- Preheat oven to 375°F, let rolls rise 30-45 min, then bake 15-20 min until golden.