Are you ready to take your bread-baking skills to the next level? In this guide, we will explore the art of making fluffy homemade dinner rolls that are perfect for any occasion. This recipe is not only easy to follow, but it also yields irresistibly delicious rolls that will elevate your dining experience. With my two decades of culinary expertise, I’ll guide you through each step to ensure your rolls come out perfectly every time.
Why You’ll Love This Recipe
Here are five reasons why this dinner roll recipe will become a staple in your kitchen:
- Perfect Texture: These rolls are light, fluffy, and have a slightly chewy crust that everyone will love.
- Easy to Make: Even if you’re a beginner, this step-by-step recipe ensures success.
- Versatile: Perfect as a side for any meal, these rolls complement everything from soups to roasted meats.
- Make Ahead: You can prepare the dough in advance for convenience, allowing you to enjoy fresh rolls without the last-minute rush.
- Customizable: This dough can be modified with various flavors and fillings to suit your taste.
Ingredients Breakdown
To make these delightful dinner rolls, you will need the following ingredients:
- 2 cups milk (whole or 2%): Adds moisture and richness.
- 2 tablespoons instant dry yeast: Essential for leavening the rolls.
- 1/4 cup granulated sugar: Enhances flavor and helps activate the yeast.
- 2 teaspoons salt: Balances the sweetness and enhances flavor.
- 6 tablespoons salted butter (softened): Contributes to the buttery flavor and tender texture.
- 2 large eggs: Adds richness and helps bind the ingredients.
- 6 cups all-purpose flour: The base for our dough, contributing to structure.
- 1 tablespoon salted butter (melted): For brushing on top after baking.
Pro Tips for Perfect Rolls
Enhance your roll-making skills with these expert insights:
- Temperature Matters: Ensure your milk is warm (100℉ to 110℉) to activate the yeast without killing it.
- Don’t Rush the Rise: Allow the dough to double in size; this crucial step ensures light rolls.
- Watch Your Dough: The dough should be slightly sticky. Adjust flour as needed for the perfect consistency.
- Practice Shaping: Roll the dough gently in your palms for a smooth finish.
- Use a Timer: Keep track of baking time to prevent over or under-baking.
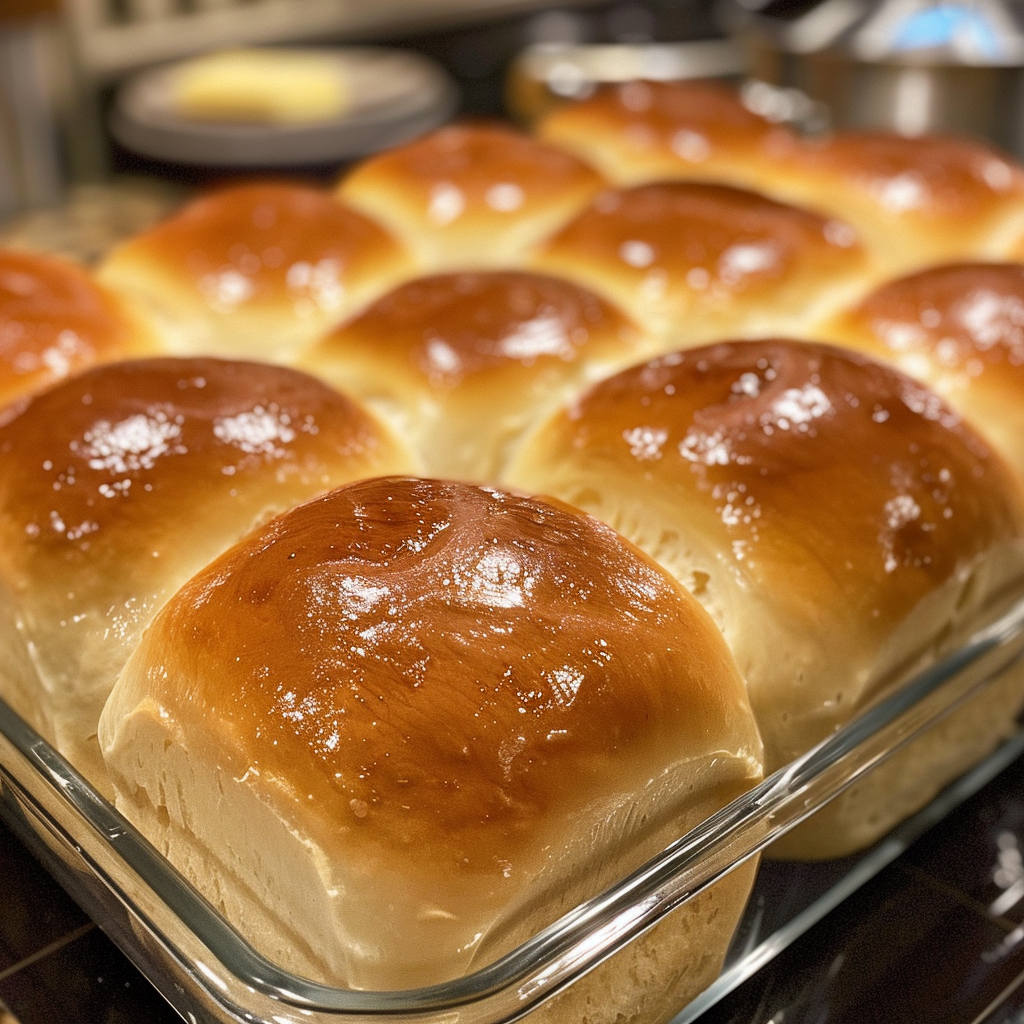
- Brush with Butter: Brushing melted butter on top before serving adds a beautiful shine and extra flavor.
- Experiment with Flavors: Try adding herbs or spices to the dough for a unique twist.
- Cool Properly: Let the rolls cool on a wire rack to prevent sogginess.
Common Mistakes and Troubleshooting
Even experienced bakers can run into issues. Here are some common mistakes and how to fix them:
- Dough Won’t Rise: This could be due to expired yeast or cold ingredients. Always check your yeast’s expiration date and use warm ingredients.
- Dense Rolls: Too much flour can lead to density. Measure flour accurately, and remember that it’s better to start with less and add more as needed.
- Burned Bottoms: If using a dark baking sheet, reduce the temperature slightly to avoid scorching.
- Dry Rolls: Ensure that you don’t overbake; they should be golden brown and soft.
Variations to Try
Feel free to get creative with these delightful variations:
- Cinnamon Rolls: Roll the dough flat, sprinkle with cinnamon and sugar, roll up, and slice before the second rise.
- Garlic Butter Rolls: Add minced garlic to the melted butter for a savory twist.
- Cheese-Stuffed Rolls: Insert small cubes of cheese into the center of each roll before shaping.
- Herbed Dinner Rolls: Mix in fresh or dried herbs like rosemary, thyme, or oregano to the dough.
Storage and Make-Ahead Instructions
These rolls can be made ahead of time and stored efficiently:
- Freezing Dough: After shaping, freeze the rolls on a baking sheet. Once frozen, transfer to a zip-top bag. Bake from frozen, adding a few extra minutes to the baking time.
- Storing Baked Rolls: Keep baked rolls in an airtight container at room temperature for up to 4 days.
- Reheating: Warm rolls in the oven at 350°F (175°C) for 5-10 minutes for that fresh-baked taste.
Comprehensive FAQ
Here are some common questions answered:
- Can I use active dry yeast instead of instant yeast? Yes, but you’ll need to activate it in warm water before adding it to the dough.
- What if my dough is too sticky? Add a little more flour, but be careful not to add too much.
- How can I make these rolls whole wheat? Substitute half of the all-purpose flour with whole wheat flour.
- Can I use non-dairy milk? Yes, almond or oat milk works well as a substitute.
- How long does it take to rise? Typically about 90 minutes for the first rise and 60 minutes for the second.
- What’s the best way to shape the rolls? Gently cup the dough in your hand and roll it against the countertop.
- Can I add fillings? Absolutely! Cheese, herbs, and garlic make great additions.
- What should I do if my rolls are too salty? Next time, measure your salt carefully and consider reducing it slightly.
Nutritional Tips and Dietary Adaptations
For healthier options, consider these adaptations:
- Gluten-Free: Use a gluten-free flour blend suitable for baking.
- Lower Sugar: Reduce the sugar to 2 tablespoons if desired.
- Vegan Option: Substitute milk with plant-based milk and omit the eggs, using a flax egg instead.
Equipment Recommendations
Here’s what you’ll need to make these rolls:
- Stand Mixer: For easy mixing and kneading of the dough.
- Measuring Cups and Spoons: Accurate measurements are key to success.
- Baking Sheet: A large, non-stick baking sheet works best for even baking.
- Wire Rack: To cool the rolls properly after baking.
Serving Suggestions
Serve these delightful rolls alongside:
- Soups: They pair wonderfully with creamy soups or stews.
- Salads: A fresh garden salad is perfect for a light, complementary dish.
- Roasted Meats: Enjoy with roasted chicken, beef, or pork for a complete meal.
As you embark on this journey of baking fluffy homemade dinner rolls, remember that every step you take brings you closer to the warm, comforting experience of sharing freshly baked bread with loved ones. So roll up your sleeves, gather your ingredients, and let’s create something magical together!

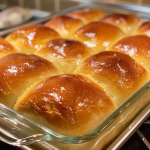
The Best Homemade Dinner Rolls Ever!
Ingredients
Dough
- 2 cups milk (whole or 2%)
- 2 tablespoons instant dry yeast
- 1/4 cup granulated sugar
- 2 teaspoons salt
- 6 tablespoons salted butter (softened)
- 2 large eggs
- 6 cups all-purpose flour
- 1 tablespoon salted butter (melted)
Instructions
- Warm the milk to 100℉-110℉ and combine with yeast, sugar, salt, butter, eggs, and 5 1/2 cups flour in a mixer.
- Mix on low then medium speed, gradually adding remaining flour until dough is soft and slightly sticky.
- Let dough rise in a greased bowl until doubled, about 90 minutes.
- Punch down, divide into 24 balls, shape into rounds, and place on a greased baking sheet. Let rise until doubled, about 1 hour.
- Preheat oven to 375°F (190°C). Bake rolls for 12-14 minutes until lightly browned. Brush with melted butter and rest for 15 minutes before serving.