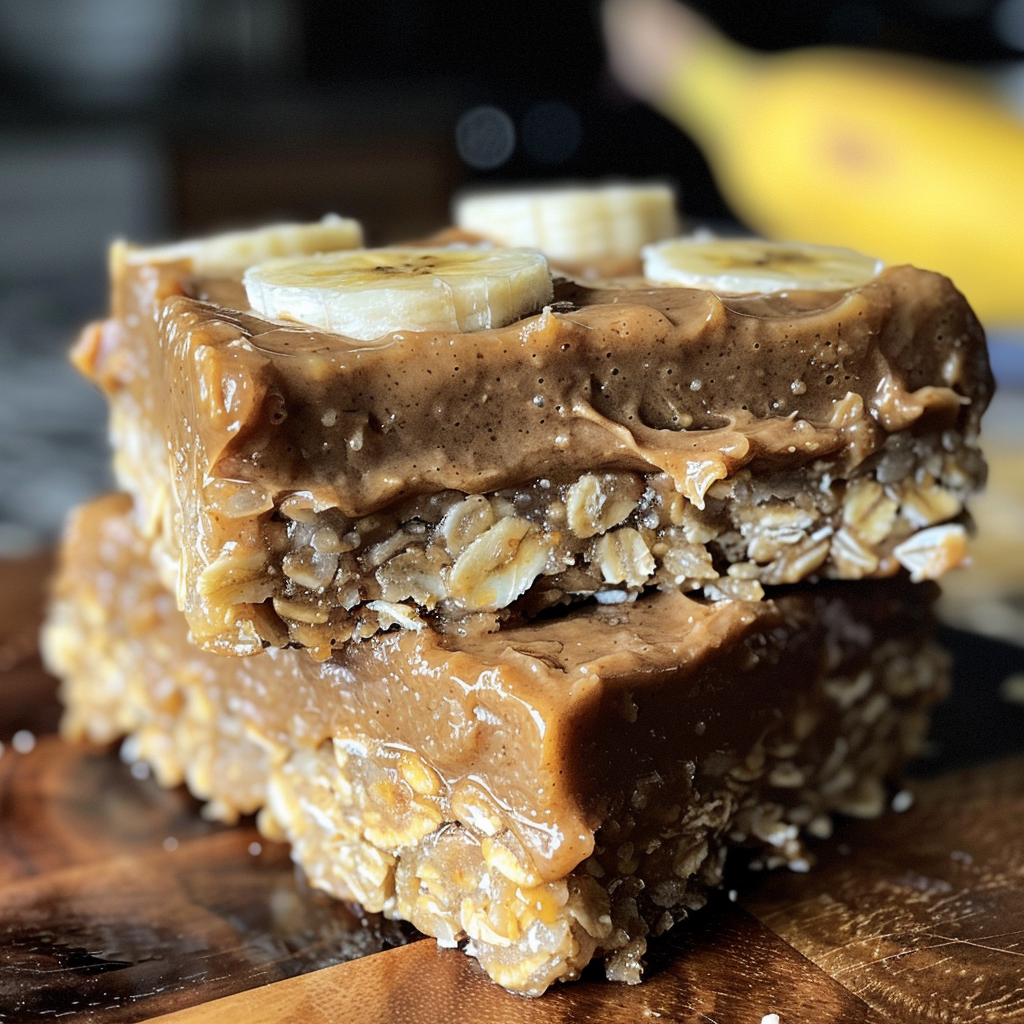
Are you looking for a quick, nutritious snack that’s easy to make and deliciously satisfying? Look no further! These Banana Oat Bars are not only made with just five simple ingredients, but they also provide a wholesome boost to your morning routine or afternoon cravings. In this comprehensive guide, you’ll learn everything from the benefits of these bars to tips, variations, and storage methods to keep your snacks fresh and delicious.
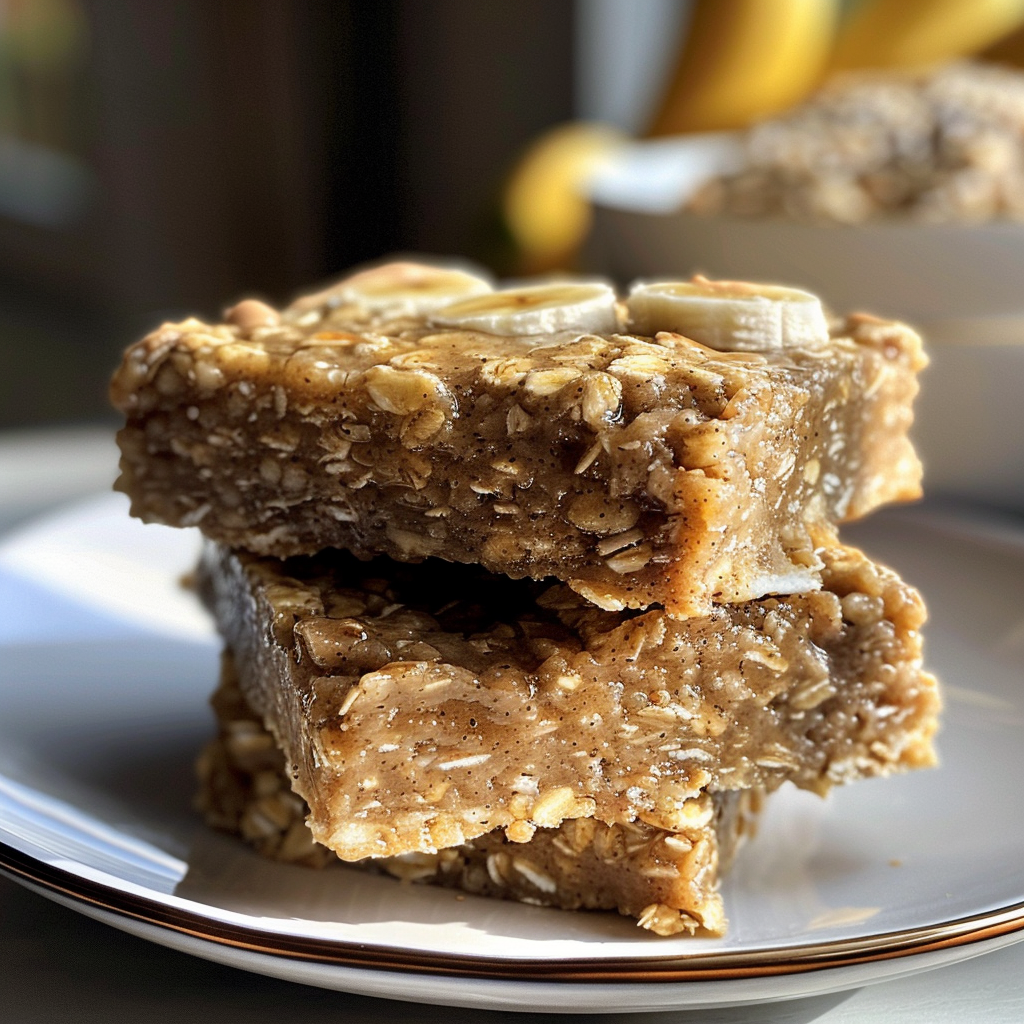
Why You’ll Love This Recipe
When it comes to quick and healthy snacks, these banana oat bars are a game changer. Here are five specific reasons to love this recipe:
- Quick & Easy: These bars can be whipped up in under 30 minutes. There’s no need to wait for dough to rise or chill—perfect for busy schedules!
- Nutritious Ingredients: Made with ripe bananas and rolled oats, these bars are rich in fiber and essential nutrients, keeping you fueled throughout the day.
- Customizable: Feel free to add your favorite mix-ins like nuts, chocolate chips, or dried fruit to personalize the flavor and texture to your liking.
- Perfect for Any Occasion: Whether it’s breakfast, a post-workout snack, or a lunchbox treat, these banana oat bars fit seamlessly into any scenario.
- Budget-Friendly: With just five basic ingredients, you won’t break the bank making these delicious bars!
What Ingredients You Will Need
Here’s a detailed breakdown of the ingredients required for this banana oat bars recipe, along with some substitution options:
- 2 medium ripe bananas: Preferably very ripe for maximum sweetness and moisture. If you don’t have bananas, unsweetened applesauce can be used as a substitute.
- 2 cups rolled oats: Regular rolled oats work best. For a gluten-free version, ensure you’re using certified gluten-free oats.
- 1/4 cup peanut butter: Either creamy or chunky. Almond or cashew butter can also be a tasty alternative.
- 3 tablespoons honey or maple syrup: This adds sweetness; maple syrup is a perfect vegan option.
- 1 teaspoon baking powder: This helps the bars rise and gives them a lighter texture.
- Optional add-ins: You can include mini chocolate chips, chopped nuts (like walnuts or pecans), dried fruit (raisins or cranberries), or a dash of cinnamon or nutmeg for extra flavor.
Equipment Needed
To get started, make sure you have the following equipment:
- Mixing bowl: A medium-sized bowl is perfect for combining your ingredients.
- Fork or potato masher: For mashing the bananas until mostly smooth.
- Baking pan: An 8×8-inch pan lined with parchment paper for easy removal.
- Spatula: To spread the mixture evenly in the baking pan.
Preparation Method
Now that you have your ingredients ready, let’s dive into the step-by-step instructions for making these delicious bars:
- Preheat your oven to 350°F (175°C). Line an 8×8-inch baking pan with parchment paper, allowing an overhang for easier removal later.
- In a medium mixing bowl, mash the bananas using a fork or potato masher until mostly smooth.
- Add the peanut butter and honey (or maple syrup) to the mashed bananas, stirring until well combined and glossy.
- Stir in the rolled oats and baking powder until no dry patches remain. If the batter appears too dry, add 1-2 tablespoons of milk (dairy or non-dairy) to achieve the desired consistency.
- Fold in any optional add-ins: mini chocolate chips, chopped nuts, dried fruit, or a pinch of cinnamon for added flavor.
- Pour the mixture into the prepared pan, spreading it evenly and pressing down gently to compact.
- Bake for 18-22 minutes or until the edges are golden and a toothpick inserted in the center comes out clean. If using a glass pan, bake 2-3 minutes longer.
- Allow to cool in the pan for about 10 minutes, then lift out using the parchment paper. Cool completely on a wire rack before slicing.
- Slice into 9 squares (or 12 rectangles for smaller portions) and enjoy!
Expert Tips for Perfect Banana Oat Bars
To ensure your banana oat bars turn out perfectly every time, consider these expert tips:
- Use very ripe bananas: The riper the bananas, the sweeter and more flavorful your bars will be.
- Don’t overmix: Once you add the oats, mix just until combined. Overmixing can lead to tough bars.
- Experiment with spices: A dash of cinnamon or nutmeg can elevate the flavor profile of your bars.
- Adjust the sweetness: If your bananas aren’t very ripe, consider adding an extra tablespoon of honey or maple syrup.
- Try different nut butters: Almond butter or cashew butter can replace peanut butter for a different flavor.
- Let them cool completely: Cooling allows the bars to set properly, making them easier to slice.
- Store properly: Keep your banana oat bars in an airtight container to maintain their freshness.
- Freeze for later: These bars freeze well—wrap them individually and store in the freezer for quick snacks.
Common Mistakes and Troubleshooting
Even the best chefs make mistakes! Here are some common pitfalls and how to avoid them:
- Bars fall apart: Ensure you’ve mashed the bananas thoroughly and pressed the mixture into the pan firmly.
- Too dry: If the mixture is crumbly, try adding a tablespoon of milk to achieve a clumpier consistency.
- Burnt edges: If your oven runs hot, consider reducing the temperature by 25°F and checking for doneness early.
Variations & Adaptations
Want to switch things up? Here are four delicious variations to try:
- Chocolate Chip Banana Oat Bars: Fold in 1/4 cup of mini chocolate chips for a sweet treat.
- Nutty Delight: Add 1/4 cup of chopped walnuts or pecans for a crunchy texture.
- Dried Fruit Medley: Mix in 1/4 cup of your favorite dried fruit, such as cranberries or apricots.
- Spiced Version: Add 1 teaspoon of vanilla extract and a pinch of nutmeg for a warm, comforting flavor.
Storage and Make-Ahead Instructions
These banana oat bars are great for meal prep! Here’s how to store and make them ahead of time:
- Room Temperature: Keep in an airtight container at room temperature for up to 3 days.
- Refrigeration: Store in the fridge for up to a week to extend freshness.
- Freezing: Individually wrap bars and freeze for up to 3 months. Thaw in the fridge overnight before enjoying.
Comprehensive FAQ
Here are some frequently asked questions to help you navigate this recipe:
- Can I make these bars vegan? Yes! Use maple syrup instead of honey and ensure your nut butter is vegan.
- Can I use quick oats instead of rolled oats? Yes, but the texture may be slightly different—quick oats will yield softer bars.
- How can I make these bars gluten-free? Use certified gluten-free oats and ensure your peanut butter is gluten-free.
- What if I don’t have ripe bananas? You can speed up the ripening process by placing bananas in a brown paper bag.
- Can I add protein powder? Absolutely! Just reduce the amount of oats slightly to maintain the right consistency.
- How do I know when they’re done baking? The edges should be golden brown, and a toothpick should come out clean when inserted.
- Can I double the recipe? Yes! Simply use a larger baking pan and adjust the baking time as needed.
- What’s the best way to slice the bars? Use a sharp knife to make clean cuts, and let them cool completely before slicing.
Nutritional Information & Dietary Adaptations
These banana oat bars are not only delicious but also packed with nutrients. Here’s a breakdown of their nutritional benefits:
- High in fiber: The oats and bananas provide a significant amount of dietary fiber, supporting digestion.
- Rich in potassium: Bananas are an excellent source of potassium, which is essential for heart health.
- Customizable for dietary needs: Easily adapt this recipe for gluten-free, vegan, or nut-free diets with simple substitutions.
Serving Suggestions
Enjoy your banana oat bars on their own or try these creative serving ideas:
- With Yogurt: Pair with a dollop of Greek yogurt for added protein and creaminess.
- Spread it: Slather on some almond butter or a smear of cream cheese for a delightful twist.
- With Fresh Fruit: Serve alongside fresh berries or sliced apples for a refreshing snack.
Conclusion
These Banana Oat Bars are a fantastic addition to your recipe repertoire, offering a nutritious, customizable snack option that fits any lifestyle. Whether for breakfast, a snack, or a healthy dessert, you’ll find these bars satisfyingly delicious and easy to make. So gather your ingredients, follow the steps, and fuel your day with these wholesome homemade treats!
Banana Oat Bars Recipe – Easy 5-Ingredient Breakfast Snack
Ingredients
Main ingredients
- 2 medium ripe bananas (about 1 cup mashed)
- 2 cups rolled oats
- 1/4 cup creamy or chunky peanut butter
- 3 tablespoons honey or maple syrup
- 1 teaspoon baking powder
- 1/4 cup mini chocolate chips (optional)
- 1/4 cup chopped nuts (walnuts or pecans) (optional)
- 1/4 cup dried fruit (raisins, cranberries, or chopped dates) (optional)
- a dash cinnamon or nutmeg (optional)
Instructions
- Preheat oven to 350°F (175°C). Line an 8×8-inch pan with parchment.
- Mash bananas, then mix with peanut butter and honey until smooth.
- Stir in oats, baking powder, and optional add-ins. Add milk if too dry.
- Press mixture into pan and bake for 18-22 minutes until golden.
- Cool, then slice into squares and serve.