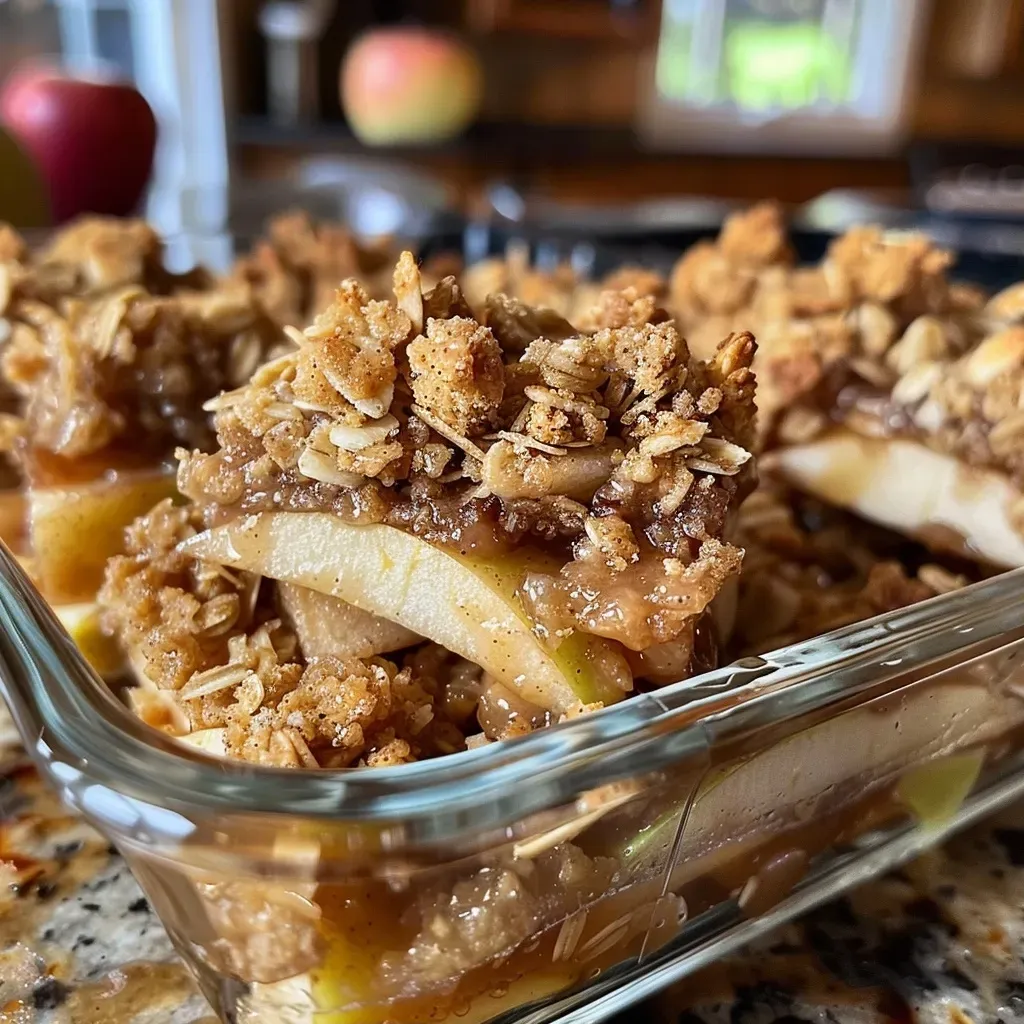
Discover the Joy of Apple Crisp Bites
Welcome to my kitchen! Today, we’re diving into the delightful world of Apple Crisp Bites. These mini treats capture the essence of traditional apple crisp, transforming it into adorable, bite-sized morsels perfect for any occasion. Whether you’re treating yourself, impressing guests, or looking for a fun way to enjoy a classic dessert, these bites are sure to please. In this comprehensive guide, we’ll explore everything from ingredients and preparation to expert tips and variations. Let’s get started!
Why You’ll Love This Recipe
Here are just a few reasons to fall in love with these Apple Crisp Bites:
- Perfect for Sharing: Ideal for parties, gatherings, or family dessert nights. These bites encourage sharing and connection.
- Quick and Easy: With straightforward steps, you can whip these up in no time, making them a fantastic last-minute dessert.
- Customizable: Add your favorite spices or toppings to make them uniquely yours. Personalization is at your fingertips!
- Kid-Friendly: The mini size makes them perfect for little hands and curious taste buds. They’re fun to eat!
- Deliciously Satisfying: The combination of warm apple filling and crispy oatmeal crust creates a blissful taste experience.
Ingredients Breakdown
Let’s gather our ingredients for these delightful treats! Here’s what you’ll need:

★ Recommended Kitchen Tool
Silicone Baking Cups Set
Make this recipe even easier with a quality Silicone Baking Cups Set — a must-have kitchen staple!
- 1 cup All-Purpose Flour: Provides structure to the crust. You can substitute with whole wheat flour for a nuttier flavor.
- 1 cup Rolled Oats: Adds texture and heartiness. Quick oats can be used in a pinch.
- 3/4 cup Brown Sugar: Sweetens the filling and crust. Light or dark brown sugar works well.
- 12 Tablespoons Butter (softened): Creates a rich flavor. For a dairy-free option, use vegan butter or coconut oil.
- 3-4 Medium Apples (peeled, cored, and diced): Granny Smith apples are great for a tart kick. Feel free to mix varieties!
- 1/3 cup Brown Sugar (for filling): Enhances the sweetness of the apples.
- 3 Tablespoons Water: Helps soften the apples during cooking.
- 1 teaspoon Cinnamon: A warm spice that elevates the flavor profile.
- 1/8 teaspoon Nutmeg: Adds depth to the filling.
- 1 Tablespoon + 1 teaspoon Cornstarch: Thickens the apple filling. Substitute with arrowroot powder if desired.
- 2 Tablespoons Water (for slurry): Used in combination with cornstarch to create a thickening agent.
- 1 Can Apple Pie Filling: For a quick shortcut, this can be used instead of making the filling from scratch.
- Caramel Topping: Optional, but highly recommended for a decadent finish!
Step-by-Step Cooking Instructions
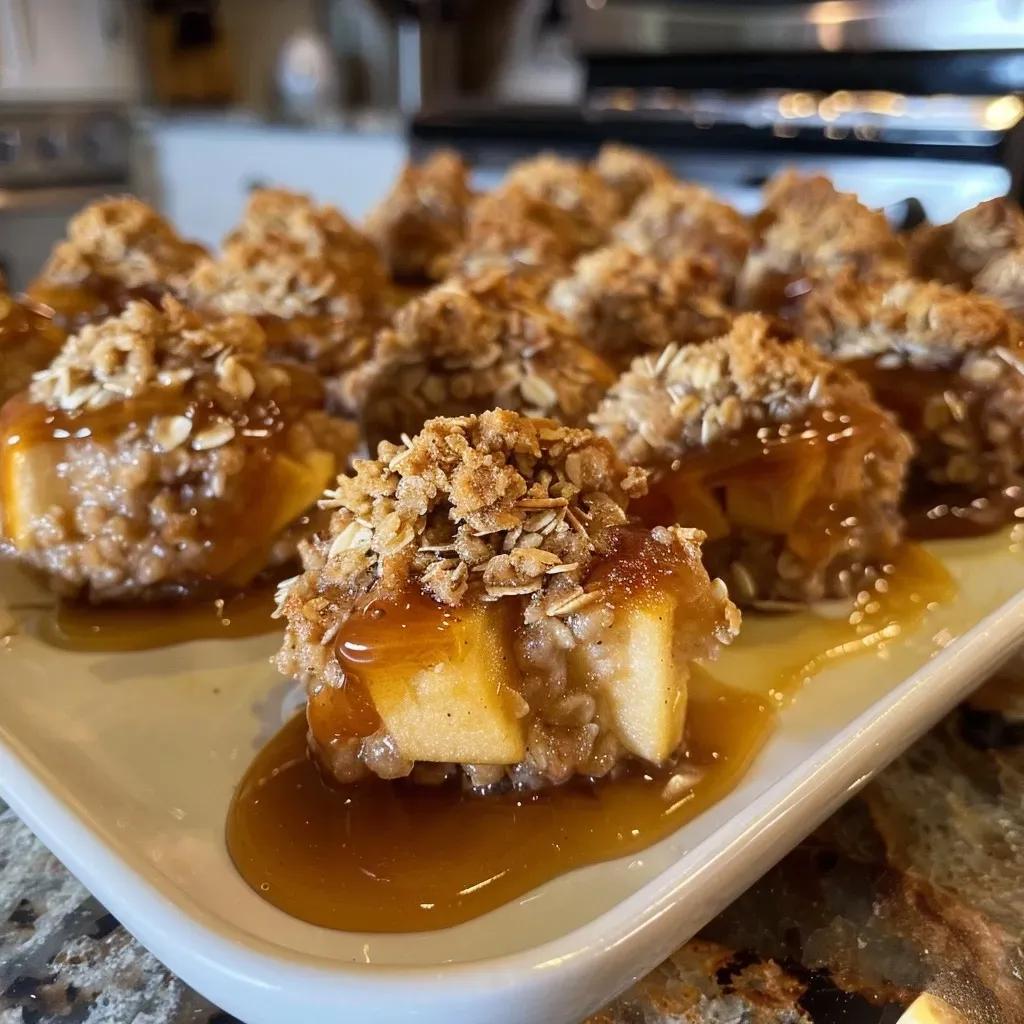
Now that we have our ingredients, let’s get cooking! Follow these simple steps:
- Preheating and Tin Preparation: Begin by preheating your oven to 350 degrees Fahrenheit. Grease a 24-cup mini muffin tin to ensure easy release.
- Apple Filling Preparation: In a medium pan, melt 2 tablespoons of butter over medium-high heat. Add the diced apples, 1 teaspoon of cinnamon, nutmeg, brown sugar, and 3 tablespoons of water. Cook for about 4-6 minutes until the apples soften.
- Filling Thickening Process: In a small bowl, mix the cornstarch with 2 tablespoons of water to create a slurry. Stir this into the apple mixture and cook until thickened, about 4-5 minutes. Let it cool.
- Crust Mixture Creation: In a large bowl, combine the flour, oats, and 3/4 cup of brown sugar. Blend in the softened butter using a pastry cutter until the mixture resembles coarse crumbs.
- Assembling the Bites: Press a heaping tablespoon of the crust mixture into each cup of the mini muffin tin to form a base.
- Filling the Crust Cups: Spoon about 1 tablespoon of the apple filling into each crust cup. Sprinkle remaining crust mixture on top.
- Baking Process: Bake for 15-20 minutes or until golden brown on top.
- Cooling and Serving: Allow the bites to cool in the pan for 10 minutes. Carefully loosen them with a knife. Drizzle with caramel topping if desired and enjoy!
Pro Tips for Perfect Apple Crisp Bites
Here are some expert insights to elevate your cooking game:
- Choose the Right Apples: Using a mix of tart and sweet apples will create a balanced flavor.
- Don’t Overmix: When making the crust, mix until just combined to ensure a tender texture.
- Adjust Sweetness: Taste your filling and adjust the sugar according to your preference. Remember, the apples will also contribute sweetness.
- Experiment with Spices: Feel free to add ginger or cloves for additional warmth.
- Make Ahead: You can prepare the filling a day in advance and assemble just before baking.
- Use a Cookie Scoop: For uniform size, a cookie scoop is perfect when adding the filling.
- Cool Completely: Allow the bites to cool completely before storing to prevent sogginess.
- Serving with Ice Cream: Pair warm bites with vanilla ice cream for a delightful dessert experience!
Common Mistakes and Troubleshooting
Even the best chefs can face challenges in the kitchen. Here’s how to avoid common pitfalls:
- Filling Overflow: Avoid overfilling the cups; stick to about 1 tablespoon per bite.
- Crust Too Crumbly: If your crust is too dry, add a bit more butter and mix until it holds together.
- Underbaked Bites: Keep an eye on them in the oven! If they aren’t golden brown after 20 minutes, give them a few extra minutes.
- Apple Filling Too Watery: If your filling is too runny, add a bit more cornstarch to thicken it up.
Variations to Elevate Your Apple Crisp Bites
Feeling adventurous? Here are a few variations to try:
- Caramel Apple Crisp Bites: Drizzle caramel sauce inside the bites before baking for a gooey surprise.
- Nutty Oat Crust: Add chopped nuts like pecans or walnuts to the crust mixture for added crunch and flavor.
- Berry Crisp Bites: Substitute half the apples with fresh blueberries or raspberries for a fruity twist.
- Gluten-Free Option: Use almond flour or a gluten-free flour blend to make these bites gluten-free.
Storage and Make-Ahead Instructions
To keep your Apple Crisp Bites fresh:
- Room Temperature: Store in an airtight container at room temperature for up to 2 days.
- Refrigeration: For longer storage, keep them in the fridge for up to a week.
- Freezing: You can freeze the unbaked bites. Just assemble, freeze on a baking sheet, then transfer to a zip-top bag. Bake directly from frozen, adding a few extra minutes to the baking time.
Frequently Asked Questions (FAQ)
Got questions? Here are some common queries answered:
- Can I use different fruits? Absolutely! Pears or berries work wonderfully as substitutes.
- How do I know when they are done? Look for a golden brown color on top and a bubbly filling.
- Can I make these vegan? Yes! Substitute butter with a vegan alternative and use flax eggs.
- What’s the best way to reheat? Reheat in the oven at 350°F for about 10 minutes until warmed through.
- Can I add more spices? Yes! Feel free to experiment with your favorite spices like allspice or cardamom.
- What if I don’t have a mini muffin tin? You can use a regular muffin tin, just increase the baking time.
- Are these bites gluten-free? If using gluten-free flour, yes! Check your other ingredients for gluten.
- What to serve with them? They pair perfectly with ice cream, whipped cream, or a sprinkle of nuts.
Nutritional Tips and Dietary Adaptations
For those watching their health:
- Lower Sugar: Reduce the amount of sugar in the filling for a healthier option.
- Whole Grains: Use whole grain flour for added fiber.
- Healthy Fats: Substitute butter with coconut oil for a different flavor profile and healthier fat.
Essential Equipment for Success
Here’s what you’ll need to make your baking experience smooth:
- 24-Cup Mini Muffin Tin: Perfect for creating bite-sized treats.
- Mixing Bowls: A variety of sizes will help in mixing and preparing ingredients.
- Pastry Cutter: Essential for creating that crumbly crust texture.
- Spatula: For easy filling and transferring of the mixture.
Serving Suggestions
When it comes to serving, consider these ideas:
- With Ice Cream: A scoop of vanilla or caramel ice cream on the side elevates the experience.
- Garnished with Nuts: Top with chopped walnuts or pecans for added crunch and flavor.
- Drizzled with Honey: A little honey can enhance the sweetness and add a floral note.
- Dust with Powdered Sugar: A light dusting adds a touch of elegance to your presentation.
Conclusion: A Sweet Treat Awaits!
There you have it! These Apple Crisp Bites are not only easy to make but also versatile and delicious. Whether you’re serving them at a party or enjoying them as a cozy dessert at home, they are sure to bring smiles to faces and warmth to hearts. Remember, cooking is about creativity and connection, so make this recipe your own, and enjoy every bite! Happy cooking!
Apple Crisp Bites
Ingredients
Crust Mixture
- 1 cup All-Purpose Flour
- 1 cup Rolled Oats
- 3/4 cup Brown Sugar
Filling
- 3-4 medium Apples (peeled, cored, diced) (about 3-4 apples)
- 2 tablespoons Butter (melted)
- 1/3 cup Brown Sugar
- 3 tablespoons Water
- 1 teaspoon Cinnamon
- 1/8 teaspoon Nutmeg
- 1 tablespoon Cornstarch
- 1 teaspoon Water
- 1 can Apple Pie Filling
- to taste Caramel Topping
Instructions
- Preheat oven to 350°F and grease a 24-cup mini-muffin tin.
- Cook apples with butter, cinnamon, nutmeg, brown sugar, and water until slightly softened, then add cornstarch slurry to thicken. Cool mixture.
- Mix flour, oats, and brown sugar; cut in softened butter until crumbly.
- Press crust mixture into mini-muffin cups, add apple filling, then top with remaining crust.
- Bake for 15-20 minutes until golden, cool for 10 minutes, then loosen and drizzle with caramel if desired.