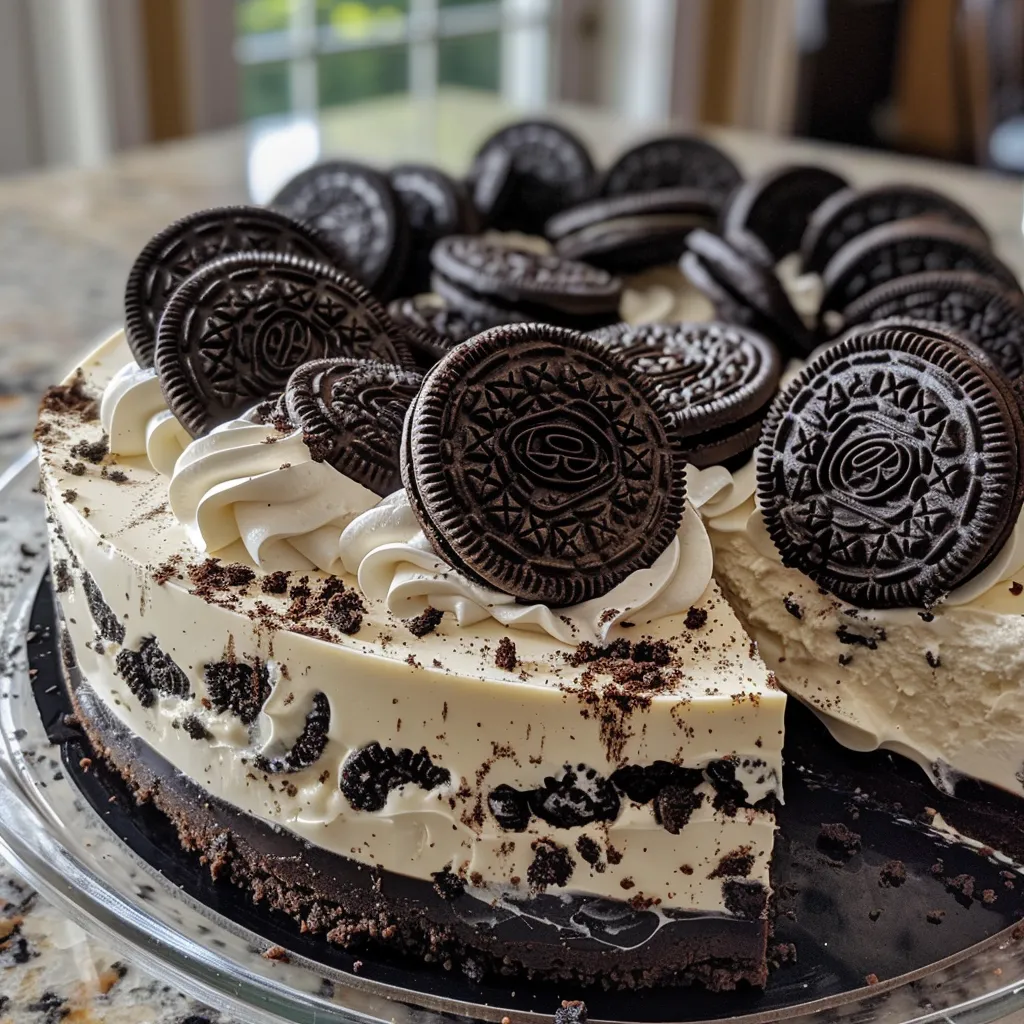
Welcome to your new favorite dessert experience! This No Bake Oreo Cheesecake is not just a treat; it’s a celebration of flavors and textures that you can whip up without ever turning on your oven. Combining rich cream cheese with crunchy Oreo cookies, this cheesecake is a perfect blend of creamy and crunchy that will delight your taste buds. Plus, it’s incredibly simple to make, making it ideal for any occasion—from casual family dinners to elegant gatherings. Let’s dive into the magic of creating this no-bake treat!
Why You’ll Love This Recipe
- Effortless preparation: With no baking required, this recipe is quick and easy, perfect for busy schedules.
- Rich and creamy texture: The combination of cream cheese and heavy whipping cream results in a decadent filling that’s light yet satisfying.
- Versatile dessert: This cheesecake can be topped with various toppings or served plain, making it perfect for any dessert table.
- Make ahead convenience: Chill it overnight for the best flavor development, making it a great option for meal prep.
- Kid-friendly fun: Involve the kids in the process of crushing Oreos and decorating the cheesecake!
Ingredients Breakdown
Here’s what you’ll need to create this delightful cheesecake:
- 25 Oreo cookies (about 285 g, finely crushed): These will form the crust, providing the perfect chocolatey base.
- 5 Tbsp unsalted butter (70 g, melted): This helps bind the cookie crumbs together.
- 16 oz cream cheese (full-fat bricks, 453 g, room temperature): Full-fat cream cheese ensures a rich and creamy filling.
- 1 cup powdered sugar (120 g, sifted): This adds sweetness and helps stabilize the filling.
- 2 tsp vanilla extract: Enhances the flavor of the cheesecake.
- 2 cups heavy whipping cream (480 ml, cold, whipped to stiff peaks): This creates a light, airy texture in the filling.
- 12 Oreo cookies (≈135 g, chopped): These add extra texture and flavor to the filling.
Substitutions
If you need to make any adjustments, here are some great substitutions:
- Gluten-free option: Use gluten-free Oreo cookies for a gluten-free cheesecake.
- Low-fat alternative: Substitute the cream cheese with low-fat cream cheese, though this may alter the texture slightly.
- Non-dairy version: Use a dairy-free cream cheese alternative and coconut cream in place of heavy whipping cream.
- Sweetener swap: For a healthier option, consider using powdered erythritol in place of powdered sugar.
How to Make No Bake Oreo Cheesecake
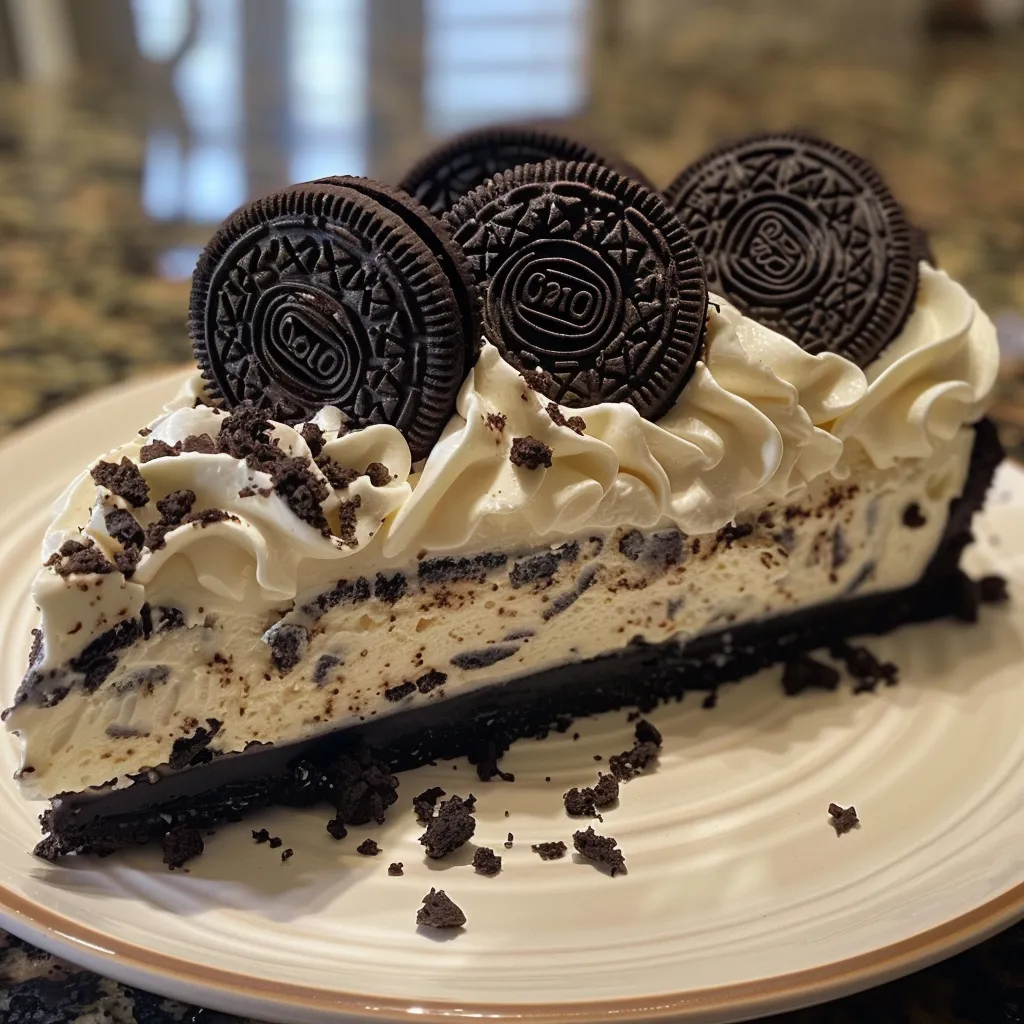
Step 1: Prep the Pan
Line the base of a 9-inch springform pan with parchment paper and lock the ring in place. This will make it easier to remove the cheesecake later.
Step 2: Make the Crust
Pulsing 25 whole Oreos in a food processor until they form fine crumbs. Add 5 tablespoons of melted butter and process until the mixture is evenly moistened and slightly glossy.
Step 3: Press and Chill
Press the crumb mixture firmly into the bottom of the prepared pan, extending it slightly up the sides. Chill in the fridge for 15–20 minutes while you prepare the filling.
Step 4: Whip the Cream
In a cold mixing bowl, beat the heavy whipping cream until stiff peaks form. Keep the whipped cream refrigerated while you prepare the cream cheese mixture.
Step 5: Beat the Base
In another bowl, beat the room-temperature cream cheese until smooth and glossy. Mix in the sifted powdered sugar and vanilla extract until completely combined.
Step 6: Fold to Finish
Gently fold in one-third of the whipped cream to lighten the mixture, then fold in the remaining whipped cream until the mixture looks billowy with no streaks. Finally, fold in the chopped Oreos.
Step 7: Fill and Level
Spread the filling evenly over the chilled crust, smoothing the top until it’s silky and level.
Step 8: Chill to Set
Refrigerate the cheesecake for 4–5 hours, or overnight for an even firmer set. For a quick fix, you can also quick-freeze it for 10–15 minutes, then return it to the fridge.
Step 9: Garnish and Slice
Before serving, pipe some whipped cream on top and add extra Oreos for decoration. For clean slices, dip a long knife in hot water, wipe it dry, slice, and wipe between cuts.
Pro Tips for the Perfect Cheesecake
- Room temperature cream cheese: Ensure your cream cheese is at room temperature to avoid lumps in the filling.
- Chill the bowl: Chilling your mixing bowl before whipping the cream can help achieve better volume.
- Don’t overmix: When folding in the whipped cream, be gentle to keep the mixture fluffy.
- Use high-quality ingredients: The better the ingredients, the better the cheesecake will taste.
- Allow adequate chilling time: Chilling for at least 4 hours ensures a clean slice and better flavor.
- Experiment with flavors: Consider adding peanut butter, mint extract, or chocolate to the filling for a twist.
- Check for set: The cheesecake should be firm to the touch but still slightly jiggly in the center when done.
- Garnish creatively: Use fresh berries, chocolate shavings, or caramel drizzle for an eye-catching finish.
Common Mistakes and Troubleshooting
Even the best bakers can have hiccups. Here are some common mistakes and how to avoid them:
- Filling is too runny: Ensure the cream cheese is at room temperature and the heavy cream is whipped to stiff peaks.
- Crust falls apart: Make sure to press the crumbs firmly into the pan and chill before adding the filling.
- Cheesecake won’t set: Allow enough chilling time; if it’s still soft, consider returning it to the fridge for longer.
- Overmixing the filling: Mix until just combined to maintain that light and airy texture.
Variations on the Classic Recipe
Get creative with these delicious variations:
- Chocolate Oreo Cheesecake: Add melted chocolate to the filling for a richer flavor.
- Mint Oreo Cheesecake: Incorporate mint extract into the filling for a refreshing twist.
- Peanut Butter Oreo Cheesecake: Swirl in peanut butter to the filling for a nutty flavor.
- Fruit Topping Oreo Cheesecake: Top with a layer of fresh berries or fruit compote post-chilling for added freshness.
Storage and Make-Ahead Instructions
This cheesecake can be made ahead of time and stored in the refrigerator for up to 5 days. To store, cover tightly with plastic wrap or aluminum foil to prevent it from absorbing odors. For longer storage, you can freeze the cheesecake for up to 2 months. Just ensure it’s well-wrapped to maintain its texture and flavor. To thaw, simply transfer it to the fridge for several hours or overnight before serving.
Comprehensive FAQ
- Can I use a different type of cookie for the crust? Yes, feel free to experiment with different cookies like graham crackers or chocolate chip cookies!
- How can I make this cheesecake without a springform pan? You can use a regular pie dish, though it may be harder to remove the cheesecake.
- What’s the best way to serve this cheesecake? Slice and serve chilled, garnished with whipped cream and extra Oreos.
- Is there a way to make this cheesecake dairy-free? Yes, use dairy-free cream cheese and coconut cream in place of heavy whipping cream.
- How long does the cheesecake need to chill? For best results, chill for at least 4-5 hours or overnight.
- What can I do if my whipped cream deflates? If it deflates, try whipping it again, but be careful not to overwhip.
- Can I add more Oreos to the filling? Absolutely! Just keep in mind it may change the texture slightly.
- What should I do if I have leftovers? Store them in an airtight container in the fridge for up to 5 days.
Nutrition Tips and Dietary Adaptations
This No Bake Oreo Cheesecake can be adapted for various dietary needs. Here are some tips:
- Low-carb option: Use sugar-free Oreos and a low-carb sweetener.
- Vegan alternative: Substitute with vegan cream cheese and coconut whipped cream.
- For those watching calories: Opt for reduced-fat cream cheese and use less sugar in the filling.
- High-protein version: Consider adding protein powder to the filling for a protein boost.
Equipment Recommendations
To create this cheesecake, you’ll need the following equipment:
- Food processor: For easily crushing the Oreos and mixing the crust.
- Mixing bowls: Use at least two bowls for the filling and whipped cream.
- Electric mixer: A hand mixer or stand mixer will make it easier to whip the cream and beat the cream cheese.
- 9-inch springform pan: Essential for achieving that perfect cheesecake shape.
Serving Suggestions
To elevate your cheesecake experience, consider the following serving suggestions:
- Pair with coffee: A slice of cheesecake goes wonderfully with a cup of coffee or espresso.
- Top with chocolate sauce: Drizzle chocolate or caramel sauce over the cheesecake for added sweetness.
- Serve with whipped cream: A dollop of fresh whipped cream enhances the creamy texture.
- Accompany with fresh fruit: Berries, bananas, or a fruit salad can balance the richness of the cheesecake.
In conclusion, this creamy No Bake Oreo Cheesecake not only promises a delightful culinary experience but also offers the flexibility to adapt to various tastes and dietary needs. With its rich flavor and easy preparation, it’s bound to become a staple in your dessert repertoire. So gather your ingredients, roll up your sleeves, and get ready to create a dessert that’s sure to impress! Happy baking!
No Bake Oreo Cheesecake Recipe
Ingredients
Crust
- 25 pieces Oreo cookies (about 285 g, finely crushed)
- 5 Tbsp Unsalted butter (70 g, melted)
Filling
- 16 oz Cream cheese (full-fat bricks, room temperature)
- 1 cup Powdered sugar (sifted, 120 g)
- 2 tsp Vanilla extract
- 2 cups Heavy whipping cream (cold, whipped to stiff peaks, 480 ml)
- 12 pieces Oreo cookies (≈135 g, chopped)
Instructions
- Line a 9-inch springform pan with parchment and lock the ring.
- Pulse 25 Oreos into fine crumbs, mix with melted butter, then press into the pan. Chill 15–20 minutes.
- Beat cream cheese until smooth, then mix in powdered sugar and vanilla. Fold in ⅓ of whipped cream, then the rest, and chopped Oreos.
- Spread filling over crust, smooth the top, and refrigerate for 4–5 hours or overnight.
- Garnish with whipped cream and extra Oreos. Slice with a hot knife for clean cuts.