Get Ready for a Spooktacular Halloween with Mummy Bark!
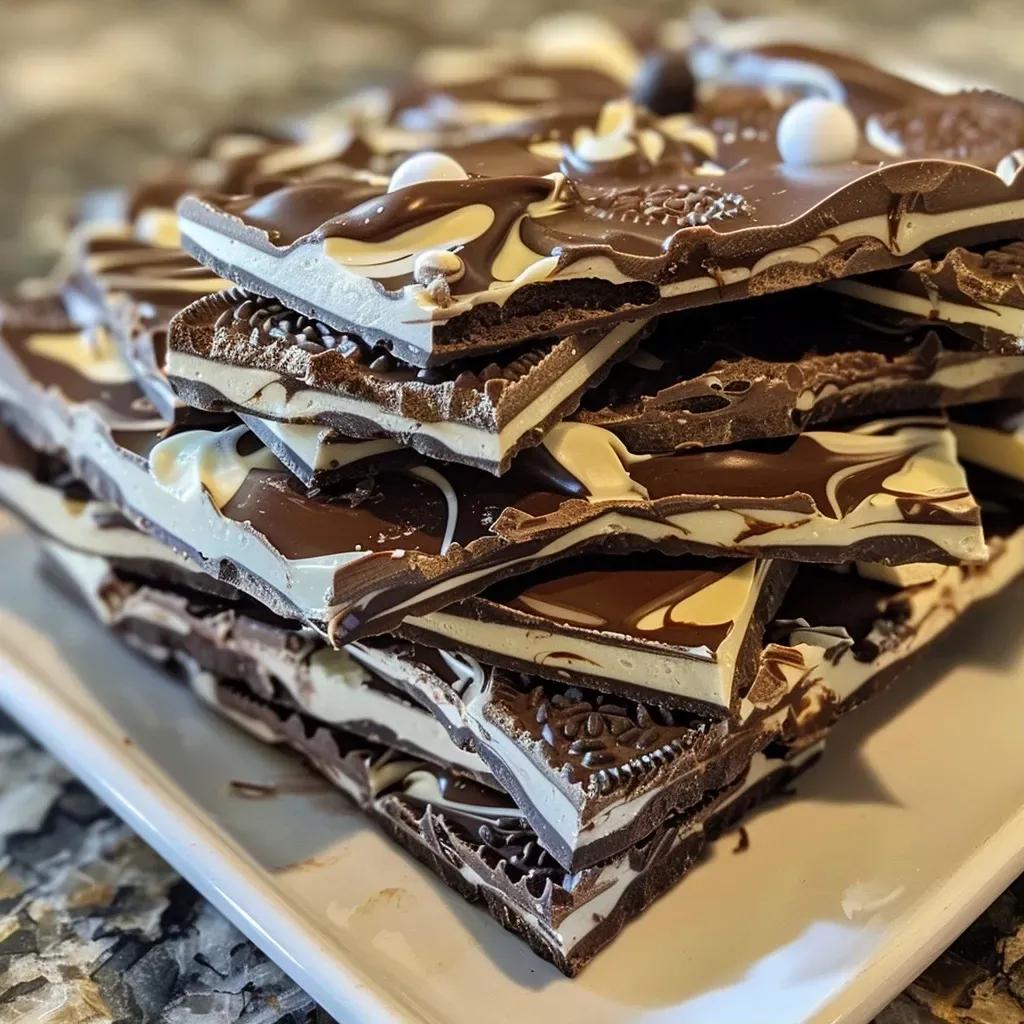
If you’re looking for an easy and festive treat to impress family and friends this Halloween, you’re in for a treat! Mummy Bark is not only delightful to look at, but it’s also incredibly simple to make. This fun dessert combines the rich flavors of milk chocolate and white chocolate with the crunch of cookies and the playful addition of edible eyes. Perfect for any Halloween gathering, this recipe will have everyone saying, “I love this spooky treat!” Let’s dive into how you can create this deliciously fun confection right in your kitchen.
Why You’ll Love This Recipe
- Quick and Easy: With just a few ingredients and minimal steps, you can whip up Mummy Bark in no time.
- Fun for Everyone: Kids and adults alike will enjoy this festive treat, making it perfect for parties or family gatherings.
- Customizable: Feel free to mix in your favorite candies or cookies to make it uniquely yours!
- Great for Gifting: Package your Mummy Bark in cute bags or boxes for a delightful homemade gift.
- Perfect for Halloween: This treat captures the spirit of Halloween in a fun and delicious way, making it a must-try!
Ingredient Breakdown
Here’s what you need to make Mummy Bark:
- 12 Oreos: These chocolate sandwich cookies add a satisfying crunch. If you prefer, substitute with any chocolate wafer cookies.
- 1 (11.5-ounce) bag milk chocolate chips: Choose semi-sweet chocolate if you want a less sugary option.
- 1 (11-ounce) bag white chocolate chips: This will create the mummy’s “bandages.” You can also use vanilla melts if preferred.
- Candy eyeballs: Essential for giving your mummy bark character! You can find these at most craft stores or online.
How to Make Spooktacular Mummy Bark
Follow these simple steps to create your Mummy Bark:

★ Recommended Kitchen Tool
Professional Chef Knife Set
Make this recipe even easier with a quality Professional Chef Knife Set — a must-have kitchen staple!
- Line a 9×13-inch baking sheet pan with parchment paper and set aside.
- Add the Oreos (no need to remove the cream filling) to a plastic bag, seal the bag, and press out extra air. Use a rolling pin or meat mallet to coarsely break the cookies into smaller chunks.
- Melt the milk chocolate chips in 30-second intervals, stirring between each burst for 15–20 seconds until smooth. Stir in the coarsely broken Oreos until well combined.
- Spread the chocolate and cookie mixture onto the prepared pan in an even 1/4-inch thick layer. Place it in the fridge to harden.
- Melt the white chocolate chips using the same method as the milk chocolate. Remove about 1/4 cup of the melted white chocolate, transfer it to a small plastic bag, and set aside.
- Spread the remaining melted white chocolate on top of the milk chocolate layer. If the two chocolates begin to swirl together, swap out for a clean spoon to maintain separation.
- Quickly top the white chocolate layer with candy eyeballs before it hardens.
- Drizzle the reserved white chocolate over the bark to mimic mummy bandages. Chill for 30 minutes or until set.
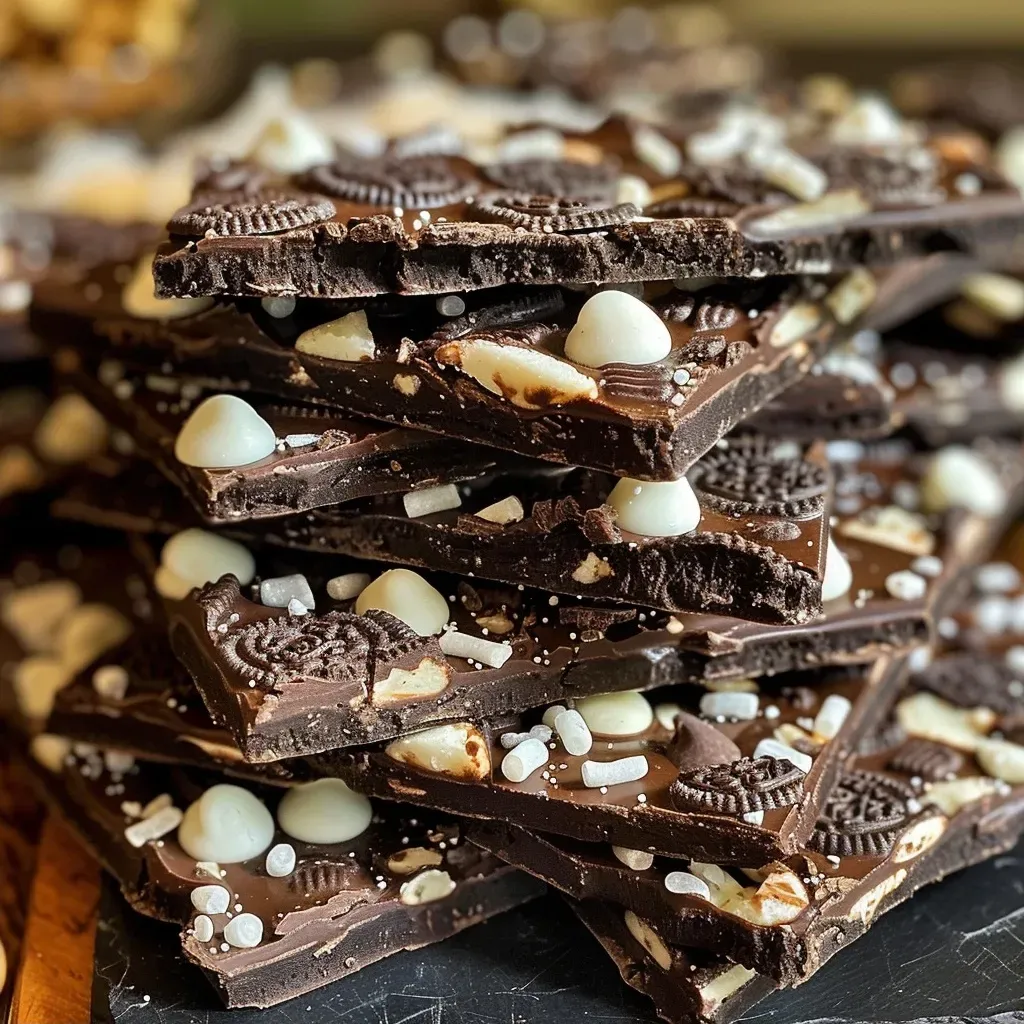
- Once firm, coarsely chop or break into pieces. Enjoy your spooky creation!
Expert Tips for Making Mummy Bark
- Quality Chocolate: Use high-quality chocolate chips for a richer flavor and smoother melt. Brands like Ghirardelli® or Guittard® are excellent choices.
- Storage: Keep your Mummy Bark in an airtight container at room temperature for up to 5 days, or refrigerate for up to 2 weeks.
- Set Time: If the chocolate stays melty, return it to the fridge to firm up for a bit before serving.
- Layering: For a more pronounced layer effect, let the first layer cool slightly before adding the second.
- Melt Carefully: If using a microwave, melt chocolate in short bursts to avoid scorching.
- Mix-Ins: Feel free to incorporate nuts, dried fruits, or additional candies for a personal touch.
- Edible Eyes: If you can’t find candy eyeballs, you can use chocolate chips or small round candies instead.
- Seasonal Variations: Adapt this recipe for other holidays by changing the toppings or colors of the chocolate.
Common Mistakes and Troubleshooting
Here are some common pitfalls to avoid when making Mummy Bark:
- Chocolate Seizing: Avoid letting any water touch the chocolate, as this can cause it to seize. Always use dry utensils.
- Overheating Chocolate: Melt chocolate slowly to maintain a smooth consistency. If it becomes grainy, it may be too hot.
- Incorrect Layer Thickness: Ensure your chocolate layers are even; too thick can lead to longer setting times, too thin may break easily.
Variations of Mummy Bark
Get creative with these fun variations:
- Monster Mash Bark: Use colorful candy melts instead of white chocolate and add vibrant toppings.
- Nutty Mummy Bark: Incorporate chopped nuts or nut butter for added flavor and texture.
- Spooky Sprinkles: Add Halloween-themed sprinkles on top for extra festivity.
- Fruit & Nut Mummy Bark: Mix in dried fruits like cranberries or raisins along with nuts for a healthier touch.
Storage and Make-Ahead Instructions
Mummy Bark can be made ahead of time and stored easily:
- Storage: Store in an airtight container at room temperature for up to 5 days or refrigerated for 2 weeks.
- Make-Ahead: Prepare your Mummy Bark a few days before your Halloween celebration for a stress-free treat.
Frequently Asked Questions
Here are some common questions related to Mummy Bark:
- Can I use dark chocolate? Absolutely! Dark chocolate works wonderfully for a richer flavor.
- What can I use instead of Oreos? Any chocolate sandwich cookie will work, or even graham crackers for a different taste.
- How do I make this recipe healthier? Use dark chocolate and add nuts or dried fruits for added nutrition.
- Can I freeze Mummy Bark? Yes, you can freeze it! Just make sure it’s well wrapped in an airtight container.
- How do I cut Mummy Bark? Use a sharp knife or simply break it apart into pieces with your hands.
- What if my chocolate isn’t melting well? Ensure your bowl is completely dry and try melting in shorter intervals.
- Can I add more toppings? Yes, feel free to customize with as many toppings as you like!
- How can I make it more festive? Use colored chocolate melts and fun Halloween sprinkles.
Nutrition Tips and Dietary Adaptations
While Mummy Bark is a delightful treat, it can also be adjusted to suit various dietary needs:
- Gluten-Free: Ensure your cookies are gluten-free, or swap them for gluten-free options.
- Dairy-Free: Use dairy-free chocolate chips for a vegan-friendly version.
- Low-Sugar: Opt for sugar-free chocolate chips and limit the added candies.
Equipment Recommendations
Here are the essential tools you’ll need for making Mummy Bark:
- Baking Sheet: A standard 9×13-inch baking sheet lined with parchment paper is ideal.
- Microwave-Safe Bowls: Use glass or ceramic bowls for melting chocolate in the microwave.
- Spatula: A silicone spatula works best for spreading the mixtures evenly.
- Plastic Bags: Great for crushing cookies and for drizzling chocolate.
Serving Suggestions
Serve your Mummy Bark in fun ways:
- Party Platter: Arrange pieces on a festive Halloween platter for a delightful display.
- Individual Treat Bags: Package pieces in small bags as party favors or treats for guests.
- Ice Cream Topping: Crumble pieces over ice cream for an added chocolatey crunch.
Conclusion
Creating Spooktacular Mummy Bark is not just about making a treat; it’s about bringing joy and fun into your kitchen. Whether you’re enjoying it at a Halloween party or sharing it with loved ones, this recipe is sure to be a hit. I hope you enjoy making and sharing this delightful treat as much as I do. Happy Halloween!
Mummy Bark
Ingredients
Cookies
- 12 pieces Oreos (or other chocolate sandwich cookies) (No need to remove the cream filling)
- 1 bag milk chocolate chips (11.5-ounce bag)
- 1 bag white chocolate chips (11-ounce bag, divided)
- as needed candy eyeballs (see note 1)
Instructions
- Line a 9x13-inch pan with parchment. Break cookies into chunks and set aside.
- Melt milk chocolate chips in 30-second intervals, stirring until smooth. Mix in cookie chunks.
- Spread the chocolate mixture onto the pan in an even layer and chill until firm.
- Melt white chocolate chips, transfer 1/4 cup to a plastic bag, and spread remaining white chocolate over the set layer. Add candy eyeballs quickly.
- Cut the tip of the white chocolate bag and drizzle to create mummy bandages. Chill until set.
- Break into pieces and enjoy. Return to fridge if chocolate softens.