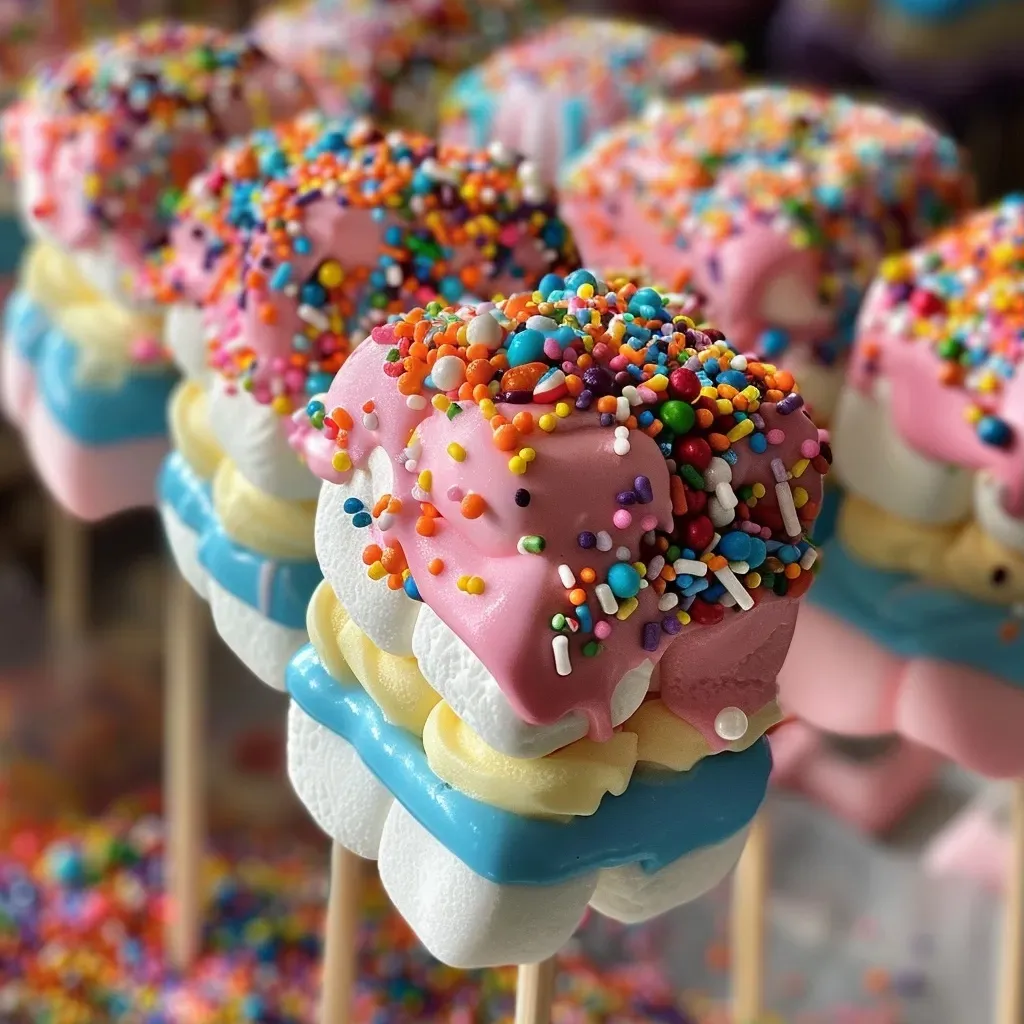
Unleashing Creativity: Dive into Monster Marshmallow Pops!
If you’re looking for a fun and whimsical treat that brings joy to any gathering, you’ve come to the right place! Monster Marshmallow Pops are not just easy to make; they’re also a delightful way to spark creativity in the kitchen. This recipe combines fluffy marshmallows, vibrant candy melts, and playful decorations to create a monster-themed snack that’s perfect for Halloween parties, birthdays, or just an afternoon treat. In this guide, we’ll walk you through everything you need to know about crafting these adorable pops, ensuring that you can whip them up with confidence and flair.
In the following sections, we’ll cover:
– Why You’ll Love This Recipe
– Detailed Ingredient Breakdown
– Pro Tips for Perfect Pops
– Common Mistakes and Troubleshooting
– Fun Variations to Try
– Storage and Make-Ahead Instructions
– Comprehensive FAQ
– Nutrition Tips and Dietary Adaptations
– Equipment Recommendations
– Serving Suggestions
Why You’ll Love This Recipe
Monster Marshmallow Pops bring a unique blend of fun and flavor that you and your loved ones will adore. Here are five reasons why this recipe is a must-try:

★ Recommended Kitchen Tool
Digital Kitchen Scale
Make this recipe even easier with a quality Digital Kitchen Scale — a must-have kitchen staple!
- Visual Appeal: These colorful pops are a feast for the eyes! The vibrant candy melts and creative designs make them a hit at any event.
- Easy to Make: With just a few simple steps, you can create these treats without the need for extensive baking skills.
- Kid-Friendly Activity: This recipe is perfect for cooking with kids. They’ll love dipping and decorating their own monster pops!
- Customizable Treats: You can easily tailor the flavors and decorations to suit any occasion or personal preference.
- Perfect for Sharing: These pops make fantastic party favors or classroom treats, ensuring everyone gets to enjoy the fun.
Ingredient Breakdown
Before diving into the steps, let’s explore the ingredients you’ll need to create these delightful Monster Marshmallow Pops:
- Marshmallows: The star of the show! Choose large marshmallows for a more substantial pop, or mini marshmallows for bite-sized treats.
- Colorful Candy Melts: These are crucial for coating your marshmallows. You can find them in various colors, allowing you to match your treats to any theme.
- Sprinkles: Add a fun texture and color to your monster designs with a variety of sprinkles. Choose themed sprinkles for added flair!
- Icing: Use icing for attaching edible decorations and creating monster features like eyes and mouths.
- Edible Decorations: Get creative! Use candy eyes, edible glitter, or even chocolate chips to make your monsters come to life.
Don’t have some ingredients? Here are some substitutions:
- For a healthier option, consider using dark chocolate instead of candy melts.
- If you’re looking for a gluten-free option, check the labels on your candy melts and sprinkles.
- For a vegan version, use vegan marshmallows and plant-based chocolate.
Pro Tips for Perfect Pops
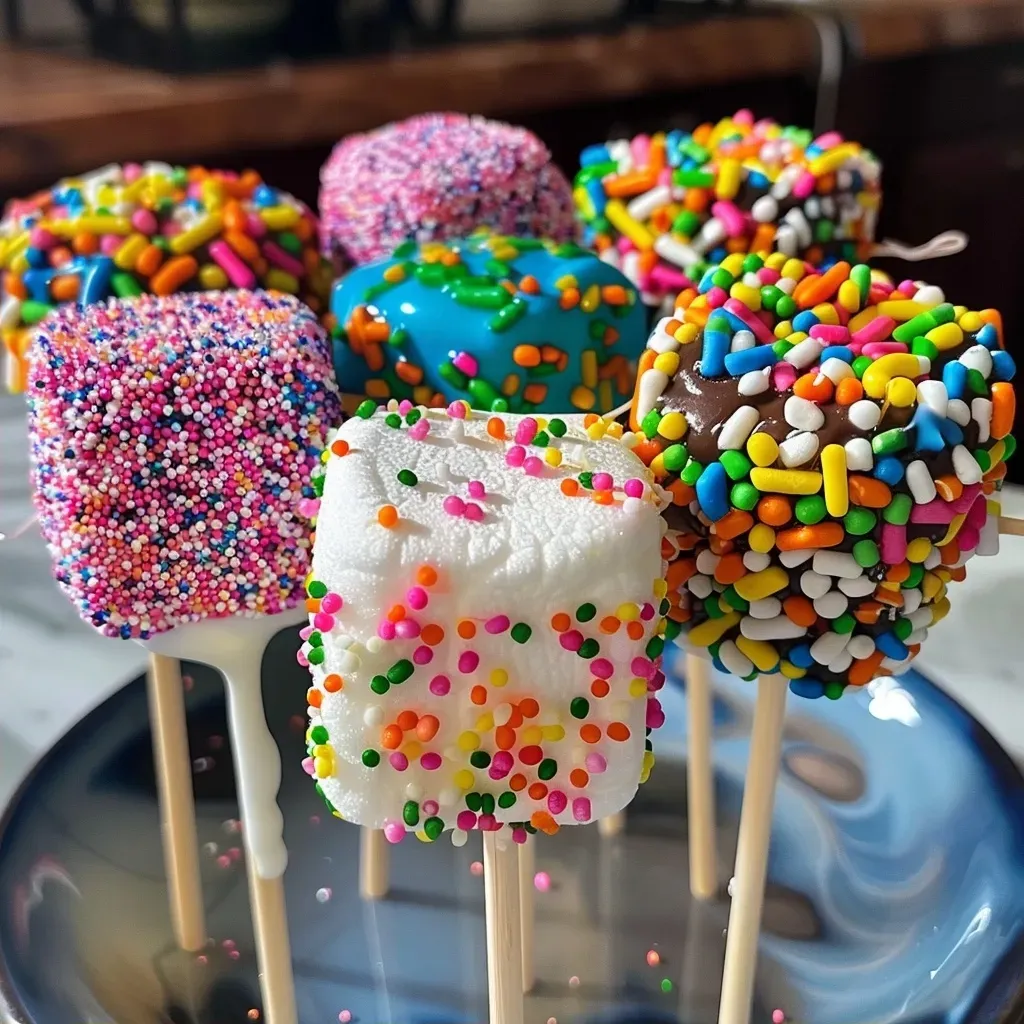
To ensure your Monster Marshmallow Pops turn out perfectly, keep these expert tips in mind:
- Melting Candy Melts: Melt the candy melts in short intervals, stirring in between to avoid burning. Use a microwave-safe bowl.
- Coating Technique: Dip the marshmallows slowly to ensure an even coat. Allow excess candy to drip off before placing them on a baking sheet.
- Chill Before Decorating: Let the coated marshmallows set in the fridge for a few minutes to ensure the candy hardens properly.
- Use Parchment Paper: Line your baking sheet with parchment paper for easy cleanup and to prevent sticking.
- Get Creative: Don’t be afraid to let your imagination run wild! Mix and match colors and decorations to create unique monsters.
- Stay Organized: Set up a decorating station with all your supplies within reach to streamline the process.
- Use Skewers: For easier handling, insert lollipop sticks or skewers into the marshmallows before dipping them.
- Experiment with Flavors: Add flavored extracts to your candy melts for a twist. Try vanilla, mint, or even orange for a zesty kick.
Common Mistakes and Troubleshooting
Even the best chefs can run into hiccups! Here’s how to avoid common pitfalls:
- Too Thick Coating: If the candy coating is too thick, try adding a little coconut oil to the melts to thin them out.
- Melting Issues: If your candy doesn’t melt smoothly, it might be overheated. Be sure to melt in intervals and stir.
- Decoration Fails: If the icing isn’t sticking to the candy, it may be too dry. Make sure to work quickly while the candy is still warm.
- Sticking to Pans: Always use parchment paper to prevent sticking. If they do stick, let them sit at room temperature for a few minutes before attempting to remove them.
Fun Variations to Try
Looking to mix things up? Here are some fun variations on the classic Monster Marshmallow Pops:
- Spooky Skull Pops: Use white candy melts and decorate with black icing for a spooky skull design.
- Festive Pumpkin Pops: Use orange candy melts and add green icing for pumpkin stems.
- Ghostly Treats: Dip in white chocolate and use black icing to create ghost faces.
- Monster Mash-Up: Combine different flavored marshmallows (like strawberry and vanilla) for a fun mix.
Storage and Make-Ahead Instructions
Want to get a head start? Here’s how to store your Monster Marshmallow Pops:
- Room Temperature: Keep them in an airtight container at room temperature for up to 5 days.
- Refrigeration: For longer shelf life, store them in the fridge for up to a week. Just allow them to come to room temperature before serving.
- Make-Ahead Tips: You can prepare the marshmallows and coating in advance, then assemble and decorate just before your event.
Comprehensive FAQ
Have questions? Here are answers to some of the most frequently asked questions about Monster Marshmallow Pops:
- Can I use chocolate instead of candy melts? Yes! Melted chocolate works great, but be mindful that it may require more cooling time.
- Are these pops gluten-free? Marshmallows and candy melts are generally gluten-free, but always check labels to be sure.
- How do I make them vegan? Use vegan marshmallows and plant-based chocolate or candy melts.
- Can I freeze Monster Marshmallow Pops? Freezing is not recommended as it can change the texture of the marshmallows.
- Can I use other candies for decoration? Absolutely! Use whatever candies you have on hand to create fun designs.
- What’s the best way to transport them? Place them upright in a container with dividers to keep them from touching each other.
- How do I prevent them from melting in warm weather? Store them in a cool place or use insulated containers for transport.
- Can I make these ahead of time? Yes! They can be made a day or two in advance and stored properly.
Nutrition Tips and Dietary Adaptations
While Monster Marshmallow Pops are a fun treat, it’s always good to be mindful of nutrition. Here’s how you can make them a bit healthier:
- Use Dark Chocolate: Opt for dark chocolate melts for a richer flavor and added antioxidants.
- Reduce Sugar: Consider using less candy or substituting with natural sweeteners, like agave syrup.
- Add Nuts: Incorporate chopped nuts for added protein and healthy fats, enhancing the nutritional profile.
- Fresh Fruits: Add slices of fresh fruit to your pops for a refreshing twist!
Equipment Recommendations
To make the process as smooth as possible, here’s some equipment you might find helpful:
- Microwave-Safe Bowls: For melting your candy melts safely.
- Parchment Paper: Ideal for easy cleanup and preventing sticking.
- Lollipop Sticks: Perfect for easy handling of the marshmallow pops.
- Spatula or Spoon: For dipping and decorating.
Serving Suggestions
Once your Monster Marshmallow Pops are ready to go, consider these fun serving ideas:
- Display on a Stick: Present them in a jar or vase to create a fun centerpiece.
- Party Favors: Wrap them in clear bags tied with ribbons for a sweet take-home treat.
- Pair with Drinks: Serve alongside festive beverages like pumpkin spice lattes or apple cider.
- Mix and Match: Create a dessert table with other fun treats to complement your Monster Pops.
Now you’re ready to create your own whimsical Monster Marshmallow Pops! With this comprehensive guide, you’ll not only impress your friends and family but also enjoy the process of making these delightful treats. Happy cooking, and remember—deliciousness is just a dip away!
Monster Marshmallow Pops
Ingredients
Main ingredients
- 12 pieces Marshmallows
- 200 grams Colorful candy melts (for dipping)
- 1/4 cup sprinkles Sprinkles (for decorating)
- 1 tsp Icing (for designing monsters)
- as needed Edible decorations (for finishing touches)
Instructions
- Dip marshmallows into melted candy melts.
- Decorate with sprinkles, icing, and edible decorations to create mini monsters.